Chicken Avocado Melt Sandwich- Easy & Delicious
The Chicken Avocado Melt Sandwich is a culinary masterpiece that has captured the hearts (and stomachs!) of many, and for good reason. It’s the ultimate comfort food, elevated. Imagin extracte perfectly grilled or shredded chicken, creamy, ripe avocado, and gooey, melted cheese all nestled between two slices of your favorite toasted bread. What’s not to love? This isn’t just any sandwich; it’s a symphony of textures and flavors that creates pure delight with every bite. The richness of the avocado perfectly balances the savory chicken, while the melted cheese binds everything together in a warm, satisfying embrace. It’s the kind of meal that feels both indulgent and wholesome, making it a go-to for a quick lunch, a satisfying dinner, or even a surprisingly elegant picnic offering. Get ready to discover why this simple yet sensational Chicken Avocado Melt Sandwich will become your new favorite.

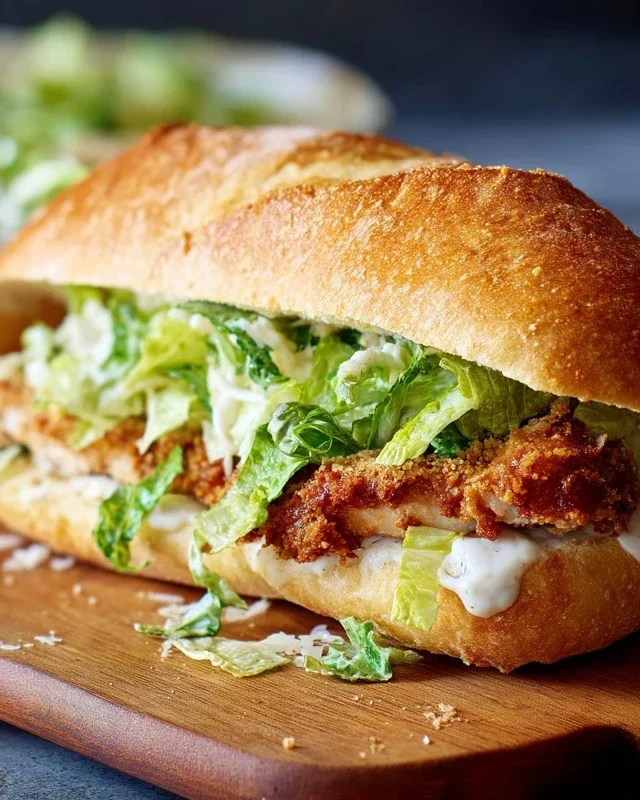
Chicken Avocado Melt Sandwich
The Chicken Avocado Melt Sandwich is the epitome of comfort food with a healthy twist. It’s a delightful combination of creamy avocado, savory chicken, melty cheese, and the satisfying crunch of grilled bread. This sandwich is perfect for a quick and easy lunch, a satisfying dinner, or even a hearty brunch. The beauty of this recipe lies in its simplicity and the versatility of its ingredients. You can easily adapt it to your taste preferences, swapping out cheeses or bread types. Let’s dive into creating this delicious masterpiece.
Ingredients:
Preparing the Chicken
The first step to creating our amazing sandwich is to prepare the chicken. This ensures it’s tender, flavorful, and cooked through perfectly.
Assembling the Sandwich
With our perfectly cooked chicken ready, it’s time to assemble the heart of our meal – the sandwich itself. This is where all the delicious components come together.
Grilling the Melt
The final, crucial step is grilling the sandwiches to achieve that irresistible golden-brown crust and perfectly melted cheese. This is where the magic happens!
Serve your incredible Chicken Avocado Melt Sandwiches immediately. They are best enjoyed hot, with the cheese perfectly melted and the bread delightfully crispy. This sandwich is a true crowd-pleaser and a testament to how simple ingredients can create extraordinary flavors. Enjoy every delicious bite!

Conclusion:
And there you have it – a truly delightful Chicken Avocado Melt Sandwich recipe that’s as satisfying as it is simple to make! This sandwich is a winner because it perfectly balances creamy avocado, savory chicken, and the irresistible gooeyness of melted cheese, all nestled between your favorite toasted bread. It’s the ultimate comfort food that’s surprisingly healthy and incredibly versatile. Whether you’re looking for a quick weeknight dinner, a satisfying lunch, or even a hearty brunch option, this Chicken Avocado Melt Sandwich is sure to become a staple in your recipe repertoire. Don’t be afraid to experiment with different cheeses, add a sprinkle of red pepper flakes for a little kick, or even swap out the chicken for turkey or beef ham. I encourage you to give this recipe a try – I’m confident you’ll love the fresh, delicious results!
Frequently Asked Questions:
Q1: What kind of bread works best for this sandwich?
For the best texture and flavor, I recommend using sturdy bread like sourdough, whole wheat, or a good quality artisan bread. These types of bread hold up well to toasting and the weight of the fillings, preventing a soggy sandwich.
Q2: Can I prepare the chicken ahead of time?
Absolutely! You can cook and shred or dice the chicken a day or two in advance. Store it in an airtight container in the refrigerator. This will make assembling your Chicken Avocado Melt Sandwich even quicker when hunger strikes.
Q3: What are some good side dishes to serve with this sandwich?
This sandwich pairs wonderfully with a variety of sides! Consider a crisp green salad with a light vinaigrette, a bowl of hearty tomato soup, some crunchy sweet potato fries, or even some classic kettle-cooked potato chips.
Chicken Avocado Melt Sandwich
A delicious and hearty sandwich featuring tender chicken, creamy avocado, melted cheese, and fresh vegetables.
Ingredients
-
2 boneless, skinless chicken breasts
-
Salt and pepper to taste
-
1 tablespoon olive oil
-
1 avocado, sliced
-
4 slices of your favorite cheese (Swiss, cheddar, or provolone)
-
4 slices of bread (sourdough, ciabatta, or your choice)
-
2 tablespoons mayonnaise
-
1 tablespoon Dijon mustard
-
1 small red onion, thinly sliced
-
1 tomato, sliced
-
Butter or olive oil for grilling the sandwiches
Instructions
-
Step 1
Season the chicken breasts with salt and pepper. Heat 1 tablespoon of olive oil in a skillet over medium-high heat and cook the chicken until thoroughly cooked and no longer pink inside. Let it rest for a few minutes, then slice or shred. -
Step 2
In a small bowl, mix the mayonnaise and Dijon mustard together. This will be your spread. -
Step 3
Spread the mayonnaise-mustard mixture on one side of each slice of bread. -
Step 4
Layer the ingredients onto two slices of bread: spread, chicken, cheese, sliced avocado, sliced red onion, and sliced tomato. -
Step 5
Top with the remaining bread slices, spread-side down. -
Step 6
Melt butter or heat olive oil in a skillet or on a griddle over medium heat. Grill the sandwiches for about 3-5 minutes per side, or until the bread is golden brown and the cheese is melted. -
Step 7
Slice the sandwiches in half and serve immediately.
Important Information
Nutrition Facts (Per Serving)
It is important to consider this information as approximate and not to use it as definitive health advice.
Allergy Information
Please check ingredients for potential allergens and consult a health professional if in doubt.