Roasted Miso Chicken Thighs- Flavorful Easy Meal
Roasted Miso Chicken Thighs are about to become your new weeknight obsession. If you’re searching for a dish that’s both incredibly flavorful and surprisingly simple to prepare, look no further. This recipe delivers juicy, tender chicken thighs infused with the savory, umami-rich goodness of miso paste, creating a flavor profile that’s simply irresistible. We love these roasted miso chicken thighs because they offer a delightful balance of sweet, salty, and deeply savory notes, all thanks to a quick marinade that works magic in the oven. What truly sets this dish apart is the way the miso caramelizes during roasting, creating a beautifully browned exterior with a complex, almost nutty undertone that coats every succulent bite. It’s the kind of meal that makes you want to lick the plate clean, and I’m so excited to share it with you!
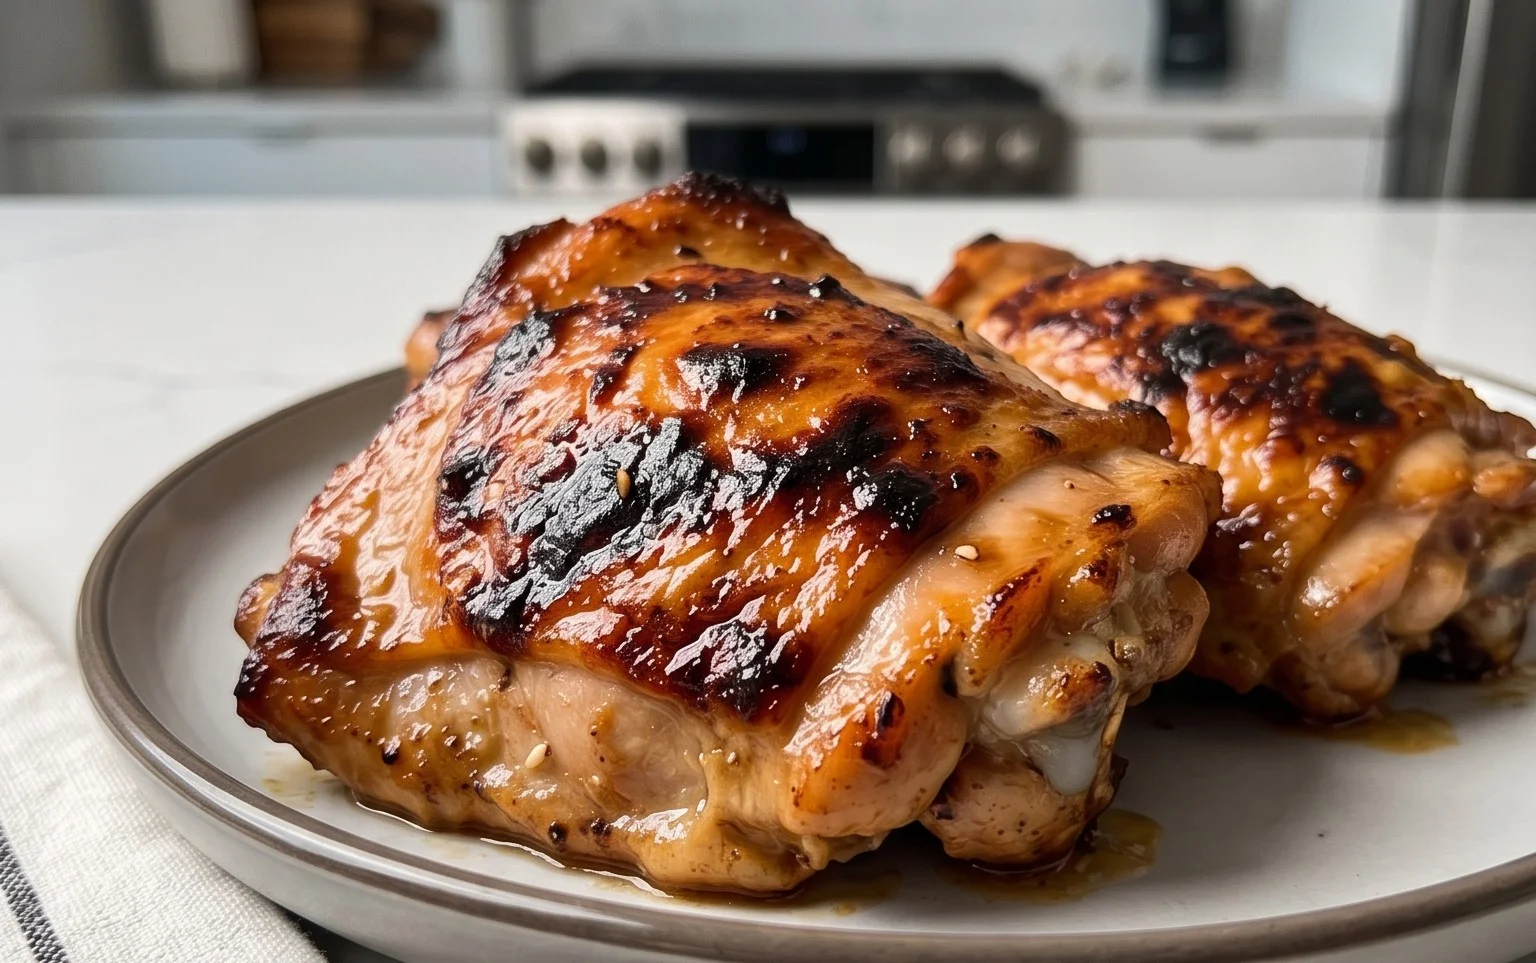
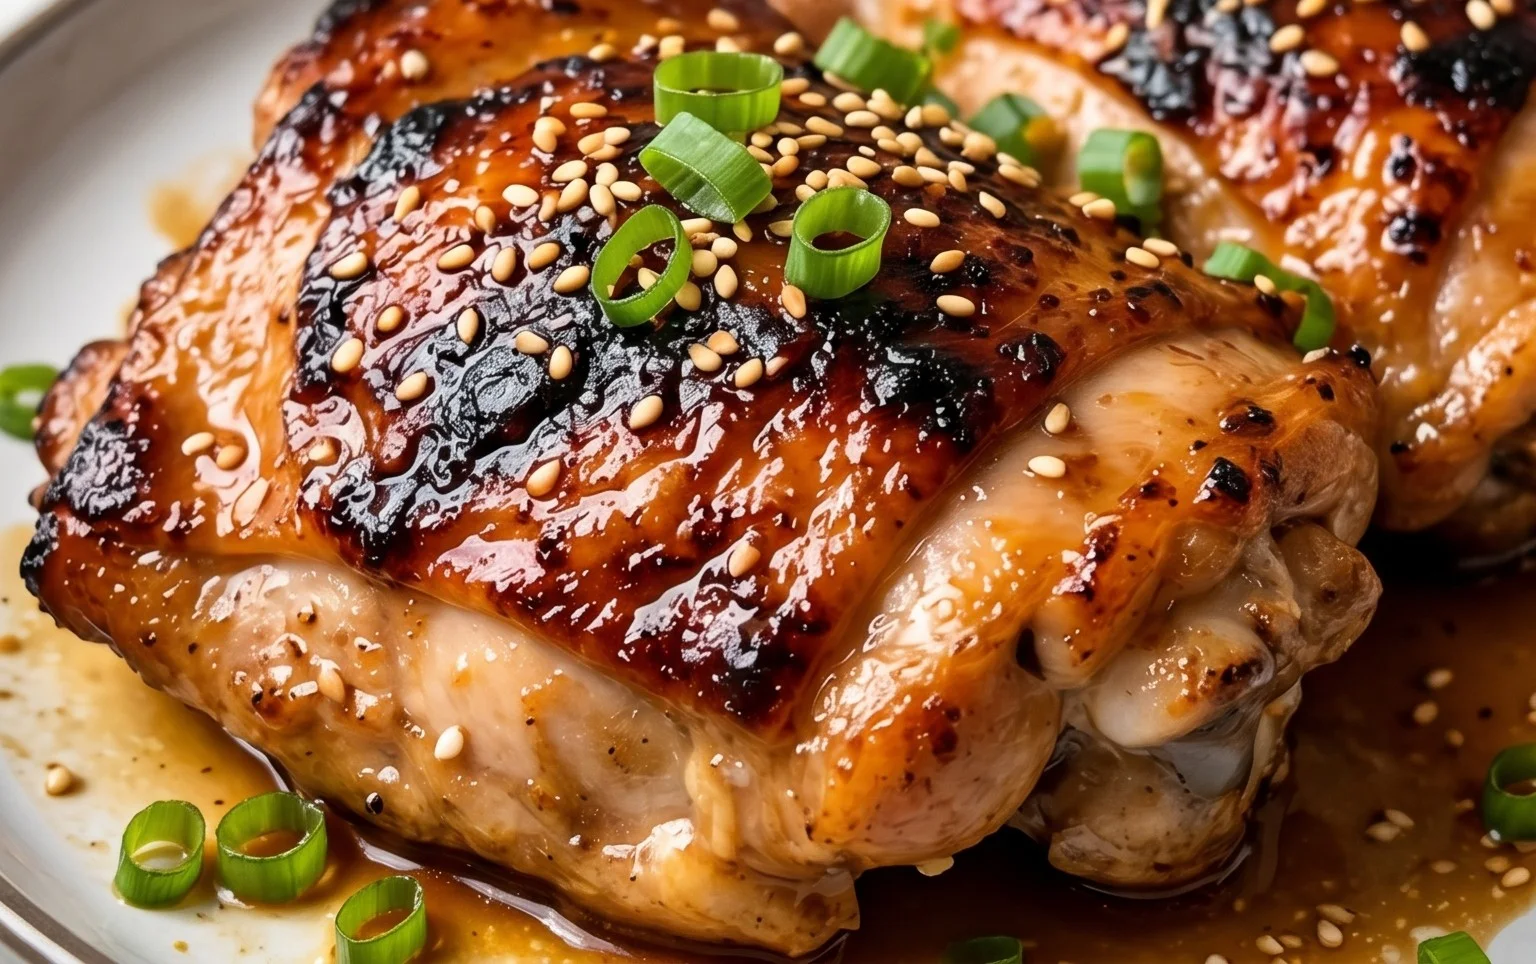
Roasted Miso Chicken Thighs
There’s something truly magical about the way miso transforms simple ingredients into something deeply flavorful and satisfying. These Roasted Miso Chicken Thighs are a testament to that magic. The salty, umami-rich miso, combined with a touch of sweetness and a hint of spice, creates a glaze that caramelizes beautifully in the oven, coating the chicken in a sticky, irresistible sheen. This is one of those dishes that feels both elegant enough for company and easy enough for a weeknight meal. The chicken thighs, being naturally more forgiving than breasts, stay wonderfully juicy and tender, soaking up all that delicious marinade.
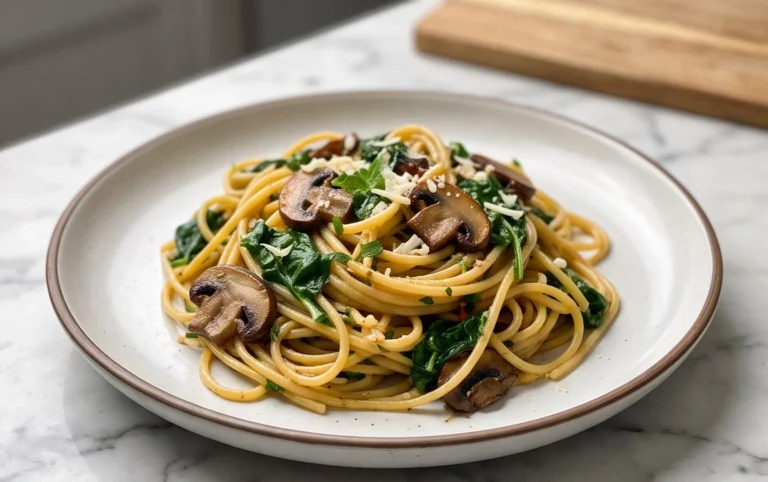
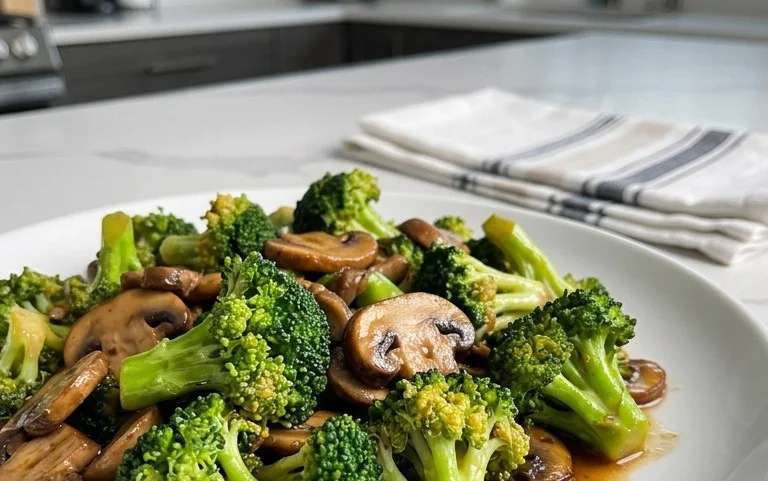
I love how versatile this recipe is. You can serve it with a simple side of steamed rice and some sautéed greens for a complete and healthy meal. Or, if you’re feeling a bit more adventurous, try it with roasted vegetables like broccoli or sweet potatoes. The flavors pair exceptionally well with almost anything. Plus, the active prep time is minimal, making it a fantastic option when you’re short on time but still craving something special.
The beauty of this recipe lies in its simplicity. The marinade comes together in minutes, and the oven does most of the work. What you end up with is incredibly flavorful, tender chicken with a beautiful, glossy finish. The combination of white miso paste, brown sugar, and rice vinegar creates a perfect balance of salty, sweet, and tangy notes. The red pepper flakes add a subtle warmth, and the gin extractger provides a delightful aromatic punch.
Ingredients:
Cooking Instructions
The journey to these delicious miso chicken thighs begin extracts with preparing the star of the show: the marinade. This is where all the flavor magic happens, so take your time to whisk everything together until it’s smooth and well combined.
1. Creating the Miso Marinade: In a medium bowl, combine the white miso paste, brown sugar, and rice vinegar. Whisk these ingredients together until they form a smooth paste. It might seem a little thick at first, but keep whisking. Next, add the softened butter. The butter adds a richness and helps the marinade cling to the chicken, as well as contributing to that beautiful caramelized crust. Stir in the red pepper flakes, ground gin extractger (or your freshly grated gin extractger for an even more vibrant kick), and black pepper. Again, mix everything thoroughly until you have a uniform, glossy marinade. If you’re using freshly grated gin extractger, the aroma alone will tell you you’re on the right track! Taste a tiny bit of the marinade (before it touches raw chicken, of course!) to adjust seasonings if you like. Perhaps you want a touch more sweetness, or a whisper more of spice. This is your chance to personalize it.
2. Marinating the Chicken: Place the boneless, skinless chicken thighs in a large zip-top bag or a shallow dish. Pour the prepared miso marinade over the chicken. Use your hands (or a spoon) to ensure each chicken thigh is completely coated in the marinade. Press out any excess air from the bag if you’re using one, and seal it tightly. If you’re using a dish, cover it with plastic wrap. Now, let the chicken marinate. For the best flavor, I recommend at least 30 minutes at room temperature, or even better, refrigerate it for 2 to 4 hours. This allows the flavors to really penetrate the chicken, making it incredibly tender and delicious. If you’re marinating for longer than 4 hours, it’s best to keep it in the refrigerator to ensure food safety.
3. Preheating and Preparing for Roasting: About 20 minutes before you’re ready to cook, preheat your oven to 400°F (200°C). While the oven is heating up, take your marinated chicken out of the refrigerator. This step is important; letting the chicken sit at room temperature for about 15-20 minutes before roasting helps it cook more evenly. Line a baking sheet with parchment paper or aluminum foil. This makes cleanup a breeze, which is always a win in my book. Arrange the marinated chicken thighs on the prepared baking sheet in a single layer. Try to give them a little space between each thigh; this helps them roast rather than steam, resulting in a better texture and allowing the edges to get nice and crispy.
4. Roasting to Perfection: Place the baking sheet with the chicken thighs into the preheated oven. Now, the magic really begin extracts to happen. Roast for 20 to 25 minutes. The exact cooking time will depend on the thickness of your chicken thighs. During this roasting period, the marinade will bubble and caramelize, creating a beautiful sticky glaze on the chicken. You’ll start to notice a wonderful aroma filling your kitchen. About halfway through the cooking time, you can optionally baste the chicken with any accumulated juices in the pan. This adds another layer of moisture and flavor. To ensure the chicken is cooked through and safe to eat, the internal temperature should reach 165°F (74°C) when checked with a meat thermometer. The edges of the chicken should be beautifully browned and slightly caramelized.
5. Resting and Serving: Once the chicken has reached the desired internal temperature and is beautifully golden brown, carefully remove the baking sheet from the oven. Transfer the roasted miso chicken thighs to a clean plate or cutting board. It’s crucial to let the chicken rest for about 5 to 10 minutes before slicing or serving. This resting period allows the juices to redistribute throughout the meat, ensuring that every bite is as moist and tender as possible. Skipping this step can lead to juices running out when you cut into the chicken, making it drier. While the chicken is resting, you can chop some fresh green onions if you’re using them for garnish. The bright green of the scallions adds a pop of color and a fresh, slightly pungent contrast to the rich, savory chicken. Serve the Roasted Miso Chicken Thighs warm, perhaps drizzled with some of the pan juices, and sprinkle with the chopped green onions. Enjoy this incredibly flavorful and satisfying dish!
Conclusion:
I truly hope you’ve enjoyed learning about these delicious Roasted Miso Chicken Thighs! This recipe is a winner because it delivers incredibly tender, juicy chicken with a deeply savory and slightly sweet flavor profile thanks to the fantastic miso marinade. The oven does all the hard work, transforming simple chicken thighs into a restaurant-worthy dish with minimal fuss. It’s the perfect weeknight meal that feels special enough for company.
For serving, I love pairing these flavorful chicken thighs with fluffy steamed rice, a crisp Asian-inspired slaw, or some roasted broccoli. They also make a fantastic addition to noodle bowls or salads. Don’t be afraid to get creative with variations! You can add a pinch of red pepper flakes to the marinade for a touch of heat, or incorporate a tablespoon of honey for an extra layer of sweetness. Try experimenting with different types of miso, like white miso for a milder flavor or red miso for a bolder, earthier taste. I encourage you to give these Roasted Miso Chicken Thighs a try – I’m confident you’ll be hooked!
Frequently Asked Questions:
Q: Can I use chicken breasts instead of thighs?
A: While chicken thighs are ideal for this recipe due to their higher fat content which keeps them moist and tender during roasting, you can use chicken breasts. However, you’ll need to adjust the cooking time. Chicken breasts cook faster and can dry out easily. I would recommend checking them for doneness around the 20-25 minute mark, and be sure not to overcook them to prevent dryness.
Q: How long does the miso marinade last in the refrigerator?
A: The miso marinade itself, if stored in an airtight container, can last for about 5-7 days in the refrigerator. If you’ve marinated chicken in it, it’s best to cook the chicken within 24-48 hours for optimal food safety and flavor.
Roasted Miso Chicken Thighs
Tender and savory chicken thighs marinated in a sweet and salty miso glaze, then roasted to perfection. A simple yet flavorful dish perfect for weeknight dinners.
Ingredients
-
3 tablespoons white miso paste
-
2 tablespoons brown sugar
-
2 teaspoons rice vinegar
-
2 tablespoons softened butter
-
¼ teaspoon red pepper flakes
-
¼ teaspoon ground ginger
-
¼ teaspoon black pepper
-
1 ½ lb boneless skinless chicken thighs
-
green onions, for serving (optional)
Instructions
-
Step 1
Preheat oven to 400°F (200°C). -
Step 2
In a medium bowl, whisk together white miso paste, brown sugar, rice vinegar, softened butter, red pepper flakes, ground ginger, and black pepper until well combined. -
Step 3
Add the boneless skinless chicken thighs to the bowl and toss to coat them evenly with the miso mixture. -
Step 4
Arrange the coated chicken thighs in a single layer on a baking sheet lined with parchment paper or foil. -
Step 5
Roast for 25-30 minutes, or until the chicken is cooked through and the glaze is caramelized and slightly browned. -
Step 6
Let the chicken rest for a few minutes before serving. Garnish with chopped green onions, if desired.
Important Information
Nutrition Facts (Per Serving)
It is important to consider this information as approximate and not to use it as definitive health advice.
Allergy Information
Please check ingredients for potential allergens and consult a health professional if in doubt.