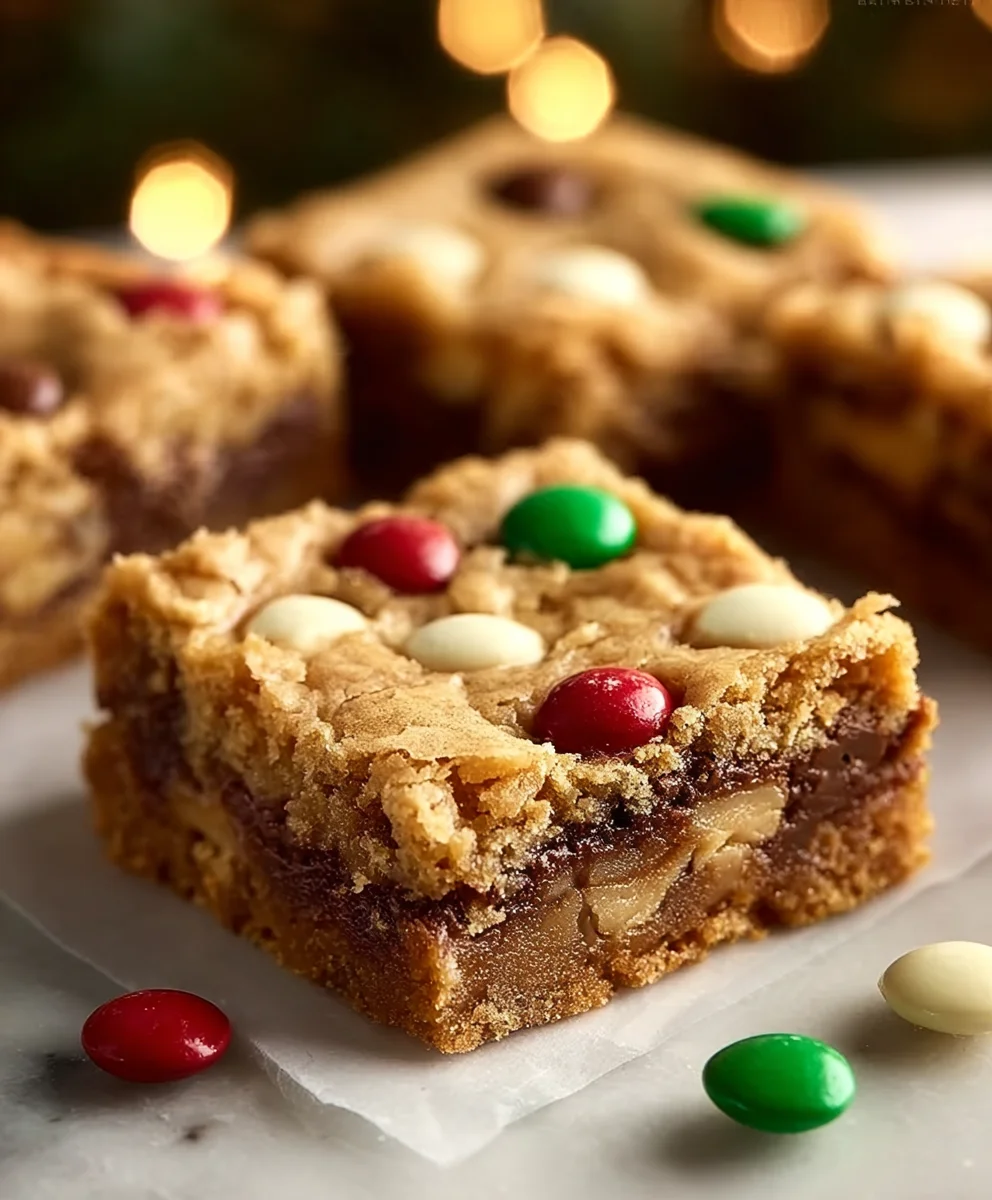
Easy Christmas Cookie Bars-Festive Holiday Treat
Christmas Cookie Bars are more than just a festive treat; they’re a gateway to cherished holiday memories. Imagin extracte a shortbread base, buttery and crum extractbly, topped with a sweet, almost magical layer of frosting, all adorned with vibrant sprinkles that capture the very essence of holiday sparkle. It’s no wonder these bars have become a staple on dessert tables across the country. The beauty of Christmas Cookie Bars lies in their delightful simplicity and their incredible versatility. They offer that perfect balance of chewy and crisp, sweet and decadent, making them an instant crowd-pleaser. Whether you’re baking for a lively holiday party or looking for a charming edible gift, these Christmas Cookie Bars are sure to spread cheer and bring smiles to everyone who takes a bite. Get ready to create a new tradition with this easy-to-follow recipe that promises pure holiday joy in every slice.
Ingredients:
- 1 cup unsalted butter, melted
- 1 cup packed brown sugar
- ½ cup granulated sugar
- 2 large eggs
- 2 teaspoons vanilla extract
- 2 ½ cups all-purpose flour
- 1 teaspoon baking soda
- ½ teaspoon salt
- 1 cup red and green M&Ms
- ½ cup white chocolate chips
Making Christmas Cookie Bars
The holiday season is all about warmth, joy, and of course, delicious treats! These Christmas Cookie Bars are the perfect way to capture that festive spirit in a single, delightful bite. They combine the chewy, decadent flavor of classic chocolate chip cookies with the vibrant colors and festive cheer of M&Ms, all in an easy-to-cut bar form. This recipe is straightforward, making it ideal for baking with family or as a quick, impressive dessert for any holiday gathering. Get ready to fill your kitchen with the irresistible aroma of baking cookies and spread some Christmas cheer!
Prep and Mixing the Dough
Step 1: Creaming the Sugars and Butter
Begin extract by preheating your oven to 350 degrees Fahrenheit (175 degrees Celsius). Lightly grease and flour a 9×13 inch baking pan, or line it with parchment paper, leaving some overhang on the sides to easily lift the bars out later. This step is crucial for ensuring your Christmas Cookie Bars don’t stick and are easy to remove after baking. In a large mixing bowl, combine the melted unsalted butter with the packed brown sugar and the granulated sugar. Using an electric mixer on medium speed, beat these ingredients together until the mixture is smooth and creamy, with no visible lumps of sugar. This creaming process incorporates air into the batter, which contributes to a tender texture in the finished bars. Scrape down the sides of the bowl as needed to ensure all the butter and sugar are well combined.
Step 2: Incorporating Wet Ingredients
Once you have a smooth, creamy sugar and butter mixture, it’s time to add the eggs and vanilla extract. Add the two large eggs, one at a time, beating well after each addition until fully incorporated. Don’t rush this step; allowing each egg to blend in properly will create a more cohesive batter. Next, stir in the vanilla extract. The vanilla adds a wonderful depth of flavor that complements the sweetness of the sugars and the richness of the butter, enhancing the overall Christmas cookie profile. Continue to mix until everything is just combined. Over-mixing at this stage can lead to tougher cookies, so aim for a smooth, uniform mixture.
Step 3: Combining Dry Ingredients and Forming the Dough
In a separate medium bowl, whisk together the all-purpose flour, baking soda, and salt. Whisking the dry ingredients together before adding them to the wet ingredients ensures that the baking soda and salt are evenly distributed throughout the flour, which is essential for consistent leavening and flavor in your Christmas Cookie Bars. Gradually add this dry mixture to the wet ingredients in your large bowl. Mix on low speed, or stir with a spatula, until just combined. It’s important to avoid over-mixing here; you want to see no streaks of dry flour. The dough will be thick and somewhat stiff.
Step 4: Folding in the Festive Add-ins
Now for the fun part – adding the festive elements! Gently fold in the red and green M&Ms and the white chocolate chips using a sturdy spatula or wooden spoon. Distribute them evenly throughout the dough. The vibrant colors of the M&Ms will give these bars that quintessential Christmas look and provide bursts of chocolatey goodness. The white chocolate chips add a creamy sweetness that pairs beautifully with the other flavors. Make sure the M&Ms and chocolate chips are evenly dispersed so that each bite of your Christmas Cookie Bars will have a delightful mix of textures and flavors.
Baking and Finishing the Christmas Cookie Bars
Step 5: Baking the Bars to Perfection
Spread the prepared cookie dough evenly into the prepared 9×13 inch baking pan. Use your spatula or the back of a spoon to press the dough down firmly and level the surface. This ensures that your Christmas Cookie Bars will bake evenly and have a consistent thickness. Place the pan in the preheated oven and bake for 25 to 30 minutes, or until the edges are golden brown and the center is set but still slightly soft. You can test for doneness by gently pressing the center; it should spring back slightly. Be careful not to overbake, as this can result in dry, crum extractbly bars.
Step 6: Cooling and Cutting for Serving
Once baked, remove the pan from the oven and let the Christmas Cookie Bars cool completely in the pan on a wire rack. This cooling period is crucial. Allowing them to cool fully will allow them to set up properly, making them much easier to cut into neat bars without falling apart. Once completely cooled, use the parchment paper overhang to lift the entire block of cookie from the pan. Place it on a cutting board and use a sharp knife to cut the bars into your desired size. Clean your knife between cuts if needed for cleaner edges. These Christmas Cookie Bars are wonderful on their own, but you can also drizzle them with a simple white glaze or dust them with powdered sugar for an extra touch of holiday elegance. Enjoy sharing these festive treats with loved ones!
Conclusion:
And there you have it – the perfect recipe for delicious Christmas Cookie Bars! We hope you’ve enjoyed this journey into creating a festive treat that’s both incredibly easy and undeniably impressive. These bars are a delightful blend of classic Christmas flavors, offering a soft, chewy base topped with a sweet and festive frosting. They truly capture the spirit of the season in every bite.
These Christmas Cookie Bars are wonderfully versatile. Serve them chilled for a firmer texture, or at room temperature for a softer, melt-in-your-mouth experience. They pair beautifully with a warm mug of mulled grape juice or a rich hot chocolate. For a truly celebratory presentation, consider arrangin extractg them on a festive platter alongside other holiday cookies and candies.
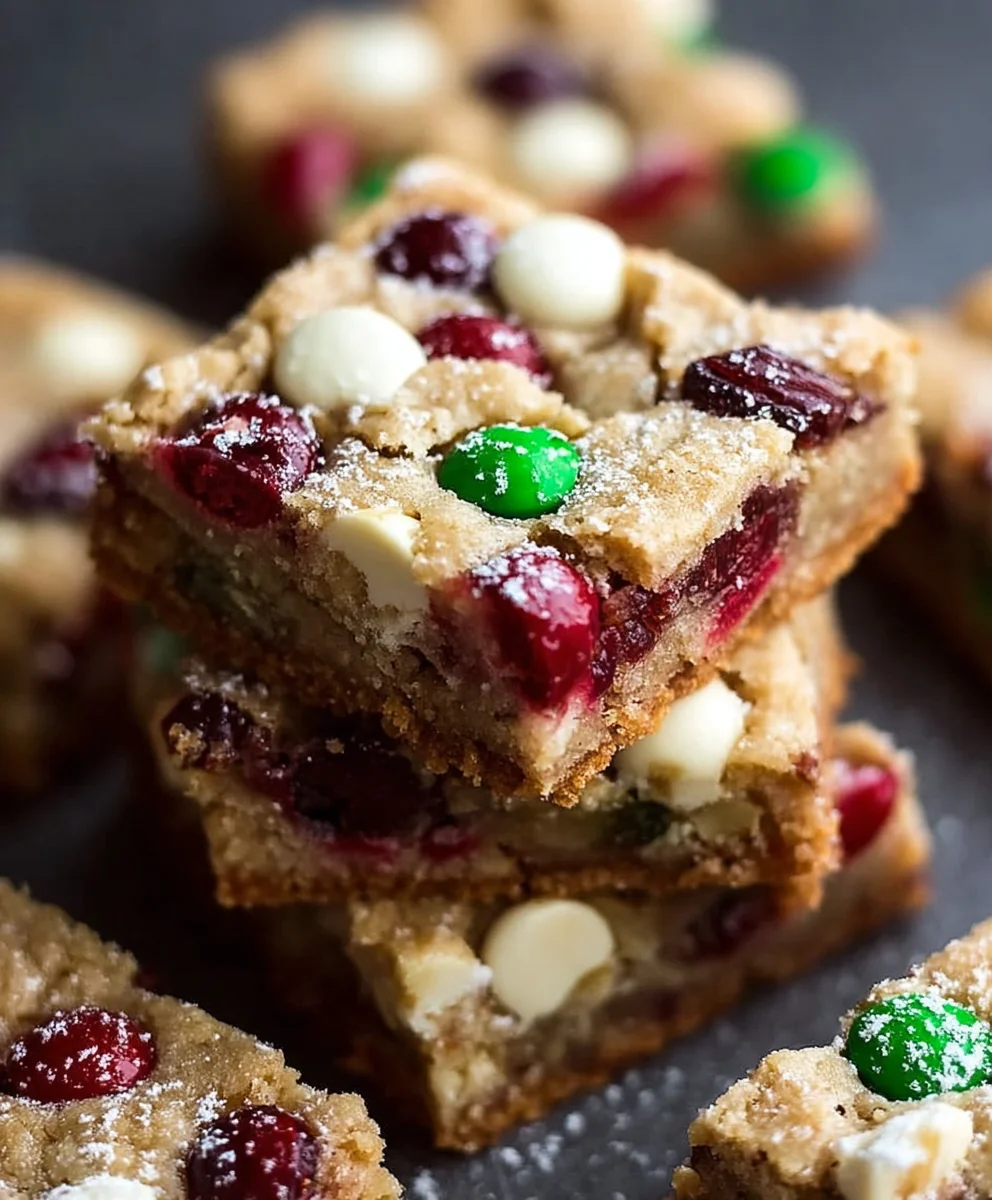
Don’t be afraid to get creative with variations! You can easily adapt the frosting with different food coloring or even add a pinch of cinnamon or nutmeg to the cookie base for an extra layer of spice. Chopped nuts or sprinkles can also be incorporated for added texture and visual appeal. We encourage you to make these Christmas Cookie Bars your own and share the joy they bring with loved ones this holiday season. Happy baking!
Frequently Asked Questions:
Can I make Christmas Cookie Bars ahead of time?
Absolutely! Christmas Cookie Bars are an excellent make-ahead option. Once cooled and frosted, you can store them in an airtight container at room temperature for up to 3 days, or in the refrigerator for up to a week. This makes them perfect for busy holiday schedules.
How should I store leftover Christmas Cookie Bars?
To keep your Christmas Cookie Bars fresh, store them in an airtight container. If you’ve frosted them, it’s best to place parchment paper between layers to prevent sticking. They will stay delicious at room temperature for a few days, or can be refrigerated for longer storage.
Are there any nut-free options for Christmas Cookie Bars?
Yes, this recipe can easily be made nut-free! Ensure you are using nut-free butter, extracts, and sprinkles. Always double-check the labels of all your ingredients to confirm they are free from any nut contamination, especially if you are baking for someone with a nut allergy.
Easy Christmas Cookie Bars
Festive holiday treat combining the chewy flavor of classic cookies with the vibrant colors of M&Ms in an easy-to-cut bar form. Perfect for family baking or holiday gatherings.
Ingredients
-
1 cup unsalted butter, melted
-
1 cup packed brown sugar
-
½ cup granulated sugar
-
2 large eggs
-
2 teaspoons vanilla extract
-
2 ½ cups all-purpose flour
-
1 teaspoon baking soda
-
½ teaspoon salt
-
1 cup red and green M&Ms
-
½ cup white chocolate chips
Instructions
-
Step 1
Preheat oven to 350°F (175°C). Grease and flour a 9×13 inch baking pan or line with parchment paper. In a large bowl, combine melted butter with brown sugar and granulated sugar. Beat with an electric mixer until smooth and creamy. -
Step 2
Add eggs one at a time, beating well after each addition. Stir in vanilla extract. Mix until just combined, avoiding over-mixing. -
Step 3
In a separate bowl, whisk together flour, baking soda, and salt. Gradually add this dry mixture to the wet ingredients and mix on low speed or stir until just combined. The dough will be thick. -
Step 4
Gently fold in the red and green M&Ms and white chocolate chips until evenly distributed throughout the dough. -
Step 5
Spread the dough evenly into the prepared baking pan and press down firmly to level the surface. Bake for 25-30 minutes, or until the edges are golden brown and the center is set. -
Step 6
Let the bars cool completely in the pan on a wire rack. Once cooled, lift from the pan using parchment paper overhang and cut into desired bar sizes.
Important Information
Nutrition Facts (Per Serving)
It is important to consider this information as approximate and not to use it as definitive health advice.
Allergy Information
Please check ingredients for potential allergens and consult a health professional if in doubt.