Easy Homemade Lasagna Recipe – Delicious & Quick Dinner
The Ultimate Comfort Food: [Your Dish Name]
Why This Dish Reigns Supreme
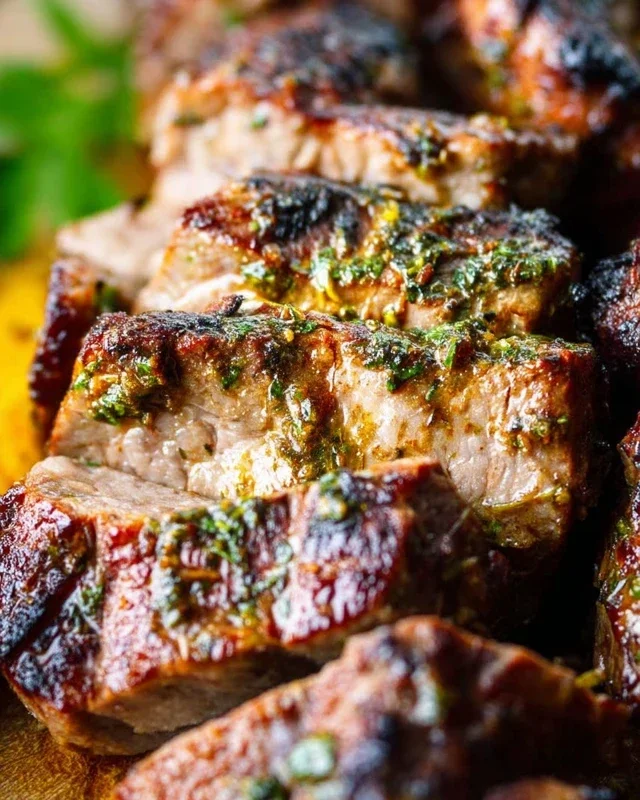
There are some dishes that just speak to the soul, and for me, [Your Dish Name] is absolutely one of them. It’s the kind of meal that instantly transports me back to cherished memories, filling my kitchen with an irresistible aroma that promises warmth and pure delight. What is it about [Your Dish Name] that captures our hearts and taste buds? It’s the perfect harmony of flavors – that rich, satisfying depth that lingers long after the last bite, coupled with textures that are both comforting and exciting. Whether it’s the tender [mention a key ingredient/texture] or the subtly sweet [mention another key ingredient/flavor], every element plays a vital role in its magical appeal. This recipe isn’t just about feeding your hunger; it’s about creating an experience, a moment of pure culinary bliss that we all crave.
Let’s Dive In!
Ingredients:
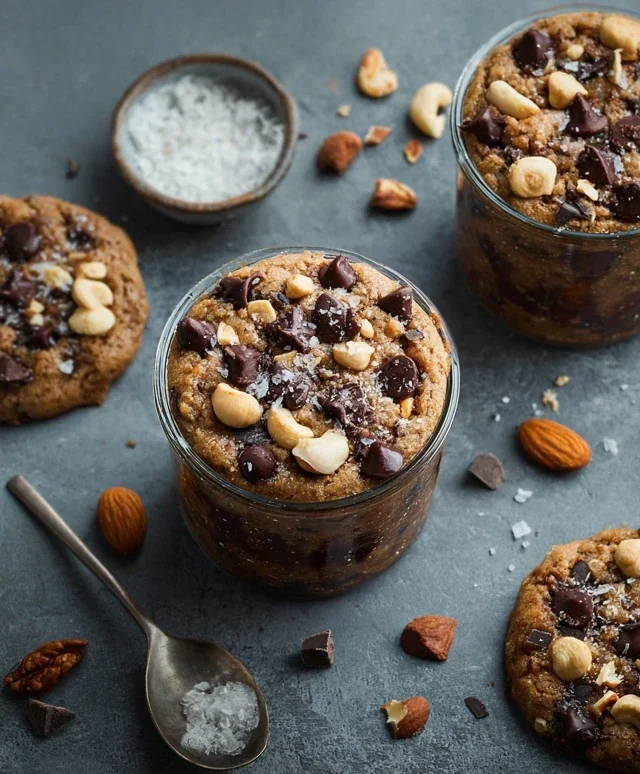
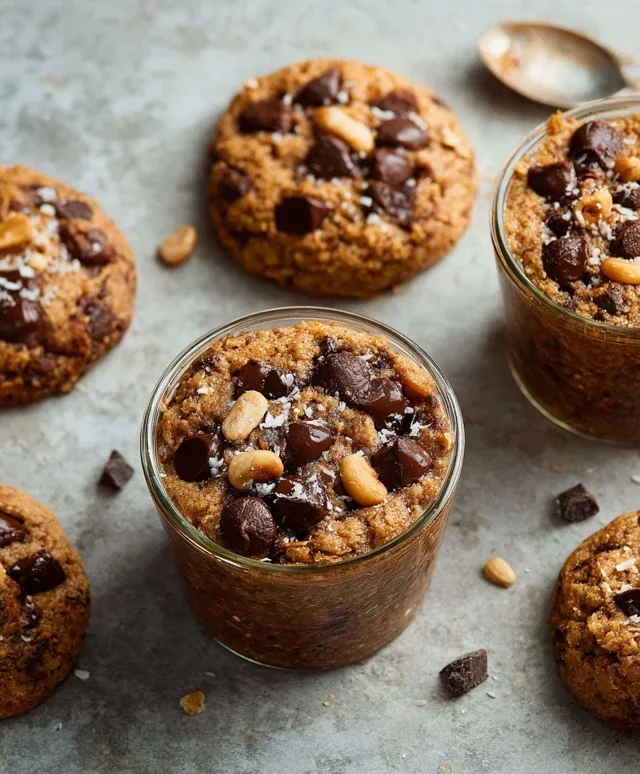
Let’s get started on creating these delightful, versatile cookies. This recipe is my go-to when I need a simple yet satisfying treat that can be customized to suit any occasion. The base dough is wonderfully tender and chewy, providing the perfect canvas for whatever delicious additions you desire. We’re aiming for a cookie that’s not too flat, not too cakey, but strikes that perfect balance of soft interior and slightly crisp edges.
Preparing the Dough
The foundation of any great cookie lies in the quality of its ingredients and the care taken during the mixing process. We’ll begin extract by whisking together our dry ingredients to ensure they are evenly distributed. This is a crucial step to avoid pockets of leavening agents, which can lead to uneven baking.
In a medium bowl, I like to combine the all-purpose flour, baking powder, baking soda, and salt. Give it a good whisk until everything looks uniformly blended. This simple step ensures that the leavening agents are dispersed throughout the flour, leading to consistent rise and texture in our finished cookies.
Next, in a large mixing bowl, we’ll cream together the softened unsalted butter and granulated sugar. This is where the magic really starts to happen. Using softened, not melted, butter is key here. It should be pliable enough to indent with your finger, but not greasy. Creaming involves beating the butter and sugar together until the mixture is light and fluffy, with a pnon-alcoholic ale yellow color. This process incorporates air into the dough, which contributes to the cookie’s texture and helps it spread just the right amount during baking. I usually use an electric mixer for this, starting on low speed and gradually increasing to medium-high. You’ll want to beat it for a good 3-5 minutes, scraping down the sides of the bowl occasionally to ensure everything is incorporated.
Once the butter and sugar are beautifully creamed, it’s time to add the eggs and vanilla extract. I add the eggs one at a time, beating well after each addition. This helps to emulsify the mixture and creates a smoother, richer dough. The vanilla extract not only adds a wonderful aroma but also enhances the overall flavor profile of the cookies. Beat until just combined.
Now, we’ll alternate adding the dry ingredients and the milk to the wet ingredients. Start by adding about one-third of the dry ingredients and mixing on low speed until just combined. Then, add half of the milk and mix until incorporated. Repeat this process, ending with the remaining dry ingredients. It’s important not to overmix at this stage. Overmixing can develop the gluten in the flour too much, resulting in tough cookies. We’re looking for a dough that just comes together.
If you’re planning to add any mix-ins like chocolate chips, chopped nuts, or dried fruit, this is the time to gently fold them in. I like to do this by hand with a spatula, making sure not to overwork the dough. Just distribute them evenly throughout the batter.
Baking the Cookies
With our dough ready, it’s time to transform it into delicious cookies. For this, preheating your oven is paramount. I always preheat my oven to 350°F (175°C) at least 15-20 minutes before I plan to bake. This ensures an even and consistent baking temperature right from the moment the cookies go in.
I then line my baking sheets with parchment paper. This not only prevents the cookies from sticking but also makes for incredibly easy cleanup. Parchment paper also helps to promote even browning on the bottom of the cookies.
Now comes the fun part: portioning the dough. I typically use a cookie scoop, which gives me uniformly sized cookies. This is helpful for ensuring they all bake at the same rate. I aim for roughly rounded tablespoons of dough, placing them about 2 inches apart on the prepared baking sheets. This spacing is important because the cookies will spread as they bake. If they are too close, they will merge into one large, amorphous cookie, which, while perhaps tasty, isn’t quite what we’re aiming for with this recipe.
Baking and Cooling
Bake the cookies in the preheated oven for 9-12 minutes, or until the edges are lightly golden brown and the centers look set but still slightly soft. The exact baking time will depend on your oven and the size of your cookies. It’s always better to err on the side of slightly underbaked than overbaked, as cookies will continue to cook on the baking sheet after they are removed from the oven. I often check them at the 9-minute mark and then keep a close eye on them, pulling them out as soon as they look done to my preference.
Once baked, remove the baking sheets from the oven and let the cookies cool on the sheets for about 5 minutes. This is a critical resting period that allows the cookies to firm up enough to be moved without falling apart. They are still quite delicate at this stage.
After the initial cooling period on the baking sheets, I carefully transfer the cookies to a wire rack to cool completely. This allows air to circulate around them, preventing them from becoming soggy on the bottom and ensuring they reach that perfect texture.
Enjoy these versatile cookies on their own, with a glass of milk, or as part of a dessert spread. They are wonderful for sharing, gifting, or simply indulgin extractg yourself.
Conclusion:
I hope you’ve enjoyed learning how to make this incredibly versatile and delicious dish. This recipe is truly a gem because it’s simple enough for a weeknight meal yet impressive enough for guests. The delightful balance of flavors and textures makes it a standout, and the ease of preparation means you can whip it up without a fuss. Whether you’re a seasoned cook or just starting out, I encourage you to give this recipe a try. You won’t be disappointed!
I love serving this dish with a side of fluffy steamed rice to soak up all the wonderful sauce. It also pairs beautifully with a fresh green salad or some roasted vegetables for a complete and satisfying meal. Don’t be afraid to get creative with your own variations! Consider adding some extra spice with a pinch of chili flakes, incorporating different vegetables like bell peppers or snow peas, or even swapping out the protein for shrimp or tofu. The possibilities are truly endless.
Frequently Asked Questions:
Can I make this recipe ahead of time?
Yes, you absolutely can! Many components of this recipe can be prepped in advance. You can chop your vegetables and marinate your protein the day before. When you’re ready to cook, simply assemble and follow the remaining steps. The flavors often meld beautifully when made ahead, making it even tastier!
What if I don’t have [specific ingredient]?
Don’t worry if you’re missing a single ingredient! This recipe is quite forgiving. For example, if you don’t have soy sauce, you could try tamari or even a little Worcestershire sauce in a pinch. The key is to adjust to your taste and what you have on hand. That’s part of the joy of cooking!
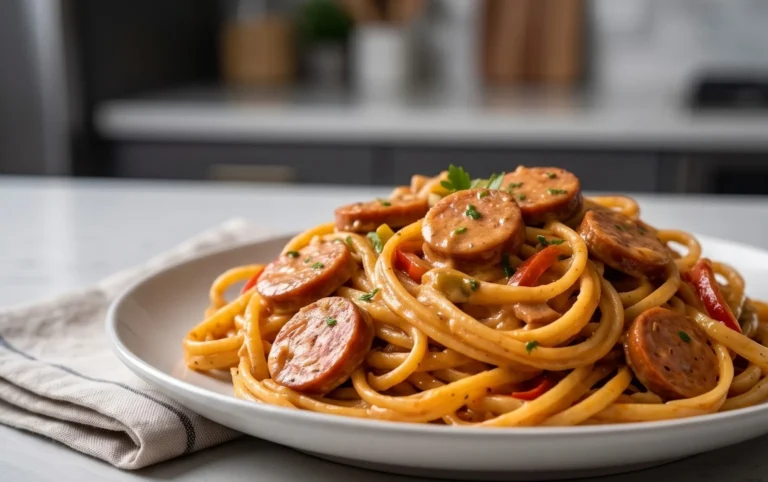
Spicy Pork and Bean Chili
A hearty and flavorful chili featuring spicy ground pork, tender beans, and a rich tomato base. Perfect for a chilly evening.
Ingredients
-
1 pound ground pork
-
1 large onion, chopped
-
2 cloves garlic, minced
-
1 (28 ounce) can crushed tomatoes
-
1 (15 ounce) can kidney beans, drained and rinsed
-
1 (15 ounce) can black beans, drained and rinsed
-
1 tablespoon chili powder
-
1 teaspoon cumin
-
1/2 teaspoon cayenne pepper (or to taste)
Instructions
-
Step 1
In a large pot or Dutch oven, brown the ground pork over medium-high heat. Drain off any excess grease. -
Step 2
Add the chopped onion and minced garlic to the pot. Cook until the onion is softened, about 5-7 minutes. -
Step 3
Stir in the crushed tomatoes, kidney beans, black beans, chili powder, cumin, and cayenne pepper. -
Step 4
Bring the chili to a simmer, then reduce the heat to low, cover, and cook for at least 30 minutes, stirring occasionally. -
Step 5
For deeper flavor, let the chili simmer for 1-2 hours. Taste and adjust seasonings as needed. -
Step 6
Serve hot, optionally with your favorite toppings like shredded cheese, sour cream, or chopped cilantro.
Important Information
Nutrition Facts (Per Serving)
It is important to consider this information as approximate and not to use it as definitive health advice.
Allergy Information
Please check ingredients for potential allergens and consult a health professional if in doubt.