Clay Pie Recipe – Easy Step-by-Step Guide
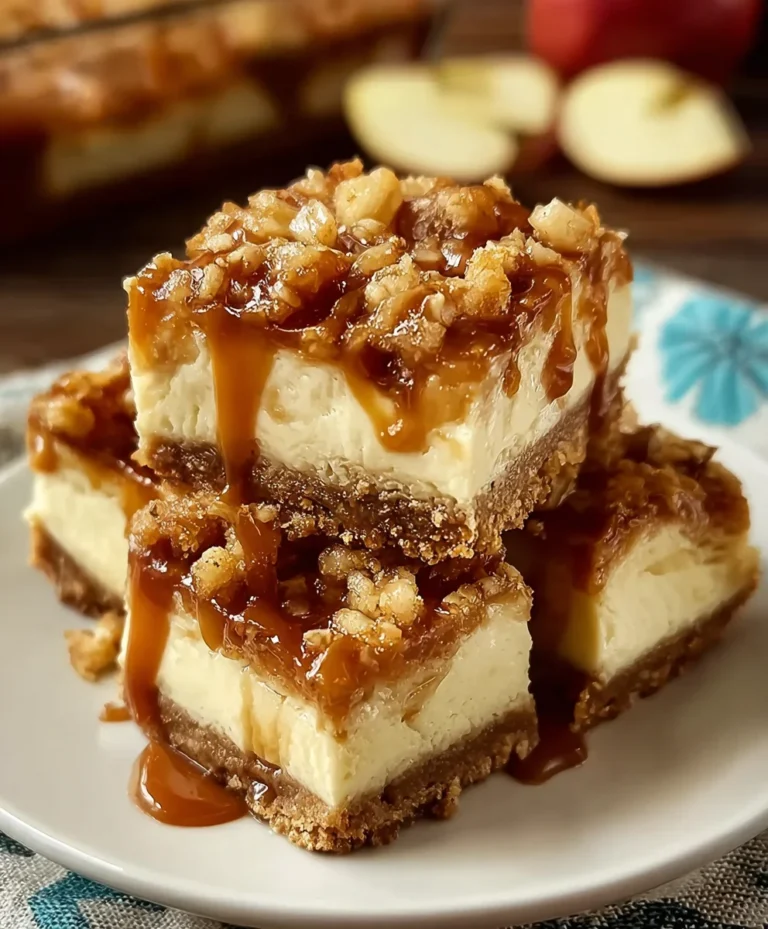
How to Make a Clay Pie isn’t just about baking; it’s about crafting a centerpiece that whispers stories of tradition and hearty comfort. Imagin extracte a golden-brown crust, cradling a rich, savory filling, all baked to perfection within its edible, artistic shell. People have fallen in love with the clay pie for its rustic charm and deeply satisfying flavors. It’s a dish that feels both familiar and wonderfully unique, a testament to simple ingredients elevated by thoughtful preparation. What truly makes a clay pie special is the transformative process – the humble dough becoming a vessel, a beautifully rustic edible dish that’s as delightful to look at as it is to devour. I’m so excited to share with you how we can create this incredible meal together, a true taste of home and hearth.
Ingredients:
How to Make a Clay Pie
Creating a miniature clay pie is a delightful project that allows for a surprising amount of realism and charm. Whether you’re making it for a dollhouse, a miniature scene, or just for fun, this guide will walk you through the process step-by-step. We’ll be using polymer clay, which bakes into a durable and permanent piece. Get ready to unleash your inner baker, in clay!
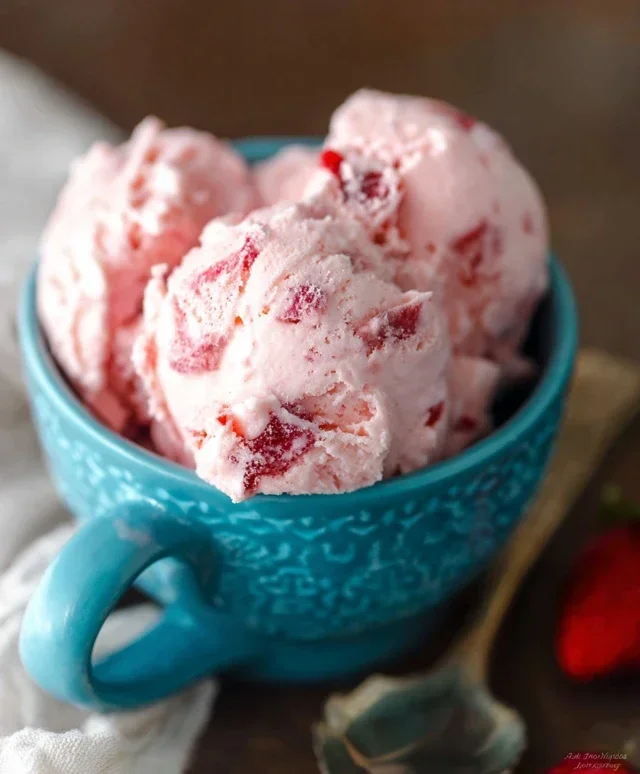
The beauty of making a clay pie is that you have complete control over its appearance. You can choose any filling color you like, experiment with different crust textures, and even add subtle details that make your creation truly unique. For this project, we’ll focus on a classic berry pie, but the techniques can be adapted for any flavor imagin extractable.
Preparing Your Workspace and Materials
Before we dive into sculpting, it’s a good idea to set up your workspace. Make sure you have a clean, flat surface to work on. I like to use a piece of parchment paper or a dedicated craft mat to prevent the clay from sticking. Gather all your ingredients – the tan polymer clay for the crust, your chosen filling color (we’re using red today), and your soft pastels for that realistic browned finish. You’ll also need your silver bottle cap(s), which will act as our miniature pie tins. If you don’t have bottle caps, you could also use small metal tart molds or even create your own circular bases from thick cardstock covered in foil.
Step 1: Crafting the Pie Crust Base
The first step is to create the base of our pie crust. Take a piece of your tan polymer clay and knead it until it’s soft and pliable. The warmth from your hands will make it easier to work with. Now, take one of your silver bottle caps. Press the tan clay firmly into the inside of the bottle cap, ensuring it covers the bottom and sides evenly. You want to create a thin, uniform layer of clay that mimics the inside of a pie crust. Don’t make it too thick, or your pie will look disproportionately crusty. Gently smooth out any fingerprints or unevenness with your fingertip or a small, smooth tool. If you’re using multiple bottle caps for multiple pies, repeat this process for each one. Make sure the clay is pressed right into the edges to create a neat rim.
Step 2: Forming the Pie Crust Edges
Now, let’s give our pie crust a more authentic edge. You have a few options here, depending on the look you’re going for. For a simple, slightly rustic edge, you can use your fingertip to gently press and crimp the excess clay that extends beyond the rim of the bottle cap. Alternatively, you can use a small craft tool, like a ball stylus or even the back of a toothpick, to create a scalloped or fluted edge. For a more detailed look, you can roll a thin snake of tan clay and attach it around the inner rim of the bottle cap, pressing it down to blend it in. This creates a slightly raised edge, similar to a pastry shell. Be patient and work your way around the entire circumference. The goal is to make it look like a real pie crust that has been crimped or pressed into a pie tin.
Step 3: Adding the Delicious Filling
This is where your pie comes to life with color! Take your red polymer clay (or whatever color you’ve chosen for your filling). Roll it into a ball and then flatten it slightly. Don’t aim for a perfectly smooth surface; a slightly irregular, lumpy texture will look more like real fruit filling. You can even mix in a tiny amount of a slightly darker red or a touch of black to create subtle variations in color, just like real berries. Gently press this filling into the prepared crust. You can mound it up a bit in the center to give it a natural, slightly overflowing appearance. If you’re making a fruit pie, you could even add tiny little dots of a darker color to represent seeds, or a few flecks of green clay for stems. The key is to avoid making it look too uniform and artificial.
Step 4: Creating a Lattice or Full Top Crust (Optional)
For a classic pie look, you might want to add a top crust. You can do this in a few ways. A simple lattice top is quite achievable. Roll out thin snakes of tan polymer clay and lay them across the filling, weaving them over and under each other to create a grid pattern. Trim the ends so they neatly connect to the edges of the bottom crust. Another option is to create a full top crust by rolling out a thin sheet of tan clay and carefully placing it over the filling, trimming the excess and pressing it to seal with the bottom crust. You can then use a sharp craft knife or a cookie cutter to create decorative vents in the top crust. For a more rustic pie, you could even leave it open-faced, showing off the beautiful filling.
Step 5: The Browning Effect with Soft Pastels
Now for the magic touch that really makes your clay pie look baked and delicious! Take your two shades of brown soft pastels. Using a small brush (a stiff bristled brush works well), gently brush the lighter brown pastel over the crust edges and any visible top crust. Focus on areas where a real pie would naturally brown, like the edges and any raised parts. Then, use the darker brown pastel sparingly, focusing on the deepest crevices or areas you want to appear more deeply caramelized. You can also add a tiny touch of darker brown to the filling itself to simulate caramelized sugars. The soft pastels adhere to the raw polymer clay and will bake on, giving a permanent, realistic color. This step is crucial for achieving that freshly baked look.
Baking Your Clay Pie
Once you’re happy with your creation, it’s time to bake it. Polymer clay needs to be baked in a conventional oven. Follow the baking instructions for your specific brand of polymer clay, as temperatures and times can vary. Generally, it’s around 275°F (135°C) for 15-30 minutes, depending on the thickness. It’s important to bake your clay pie on a heat-resistant surface like an old baking tray lined with parchment paper. Make sure to preheat your oven accurately. Avoid using your good baking pans, as they might get stained. After baking, let the pie cool completely in the oven or on the baking tray. It will be very fragile when hot, so patience is key. Once cooled, your miniature clay pie is ready to be displayed or used in your projects! Enjoy your delicious-looking, non-edible creation!
Conclusion:
So there you have it! Making a clay pie is a wonderfully tactile and rewarding experience, offering a fantastic way to engage with creativity and enjoy a unique artistic outlet. The beauty of this recipe lies in its simplicity and versatility. You’re not just making a pie; you’re crafting a piece of art that can be as functional as it is decorative. This recipe is perfect for solo relaxation, family fun, or even as a thoughtful, handmade gift. Imagin extracte the joy of presenting a beautifully decorated clay pie!
To serve your creation, think outside the edible box! A clay pie makes a charming centerpiece for a table, a unique fruit bowl, or a decorative display piece. You can even seal it for a more durable finish if you intend to use it for holding non-food items. For variations, don’t be afraid to experiment! Try adding different textures to the clay before baking, such as embedded beads or small shells. You could also paint your pie after it’s cooled for a more vibrant look, or even attempt a marbled effect with different colored clays. I truly encourage you to give this clay pie recipe a try. It’s a delightful project that guarantees a satisfying outcome. Dive in and let your imagin extractation guide you!
Frequently Asked Questions:
Can I eat the clay pie?
No, this clay pie is purely for decorative and artistic purposes. The materials used are not food-safe. Please do not attempt to consume it.
How do I bake a clay pie?
Baking instructions are detailed within the recipe, but generally, you’ll preheat your oven to a specific temperature recommended for your clay type and bake until the clay is firm and fully hardened.
What kind of clay should I use?
For this clay pie project, air-dry clay or polymer clay are excellent choices. Air-dry clay is convenient as it requires no baking, while polymer clay offers more durability and can be baked in a home oven for a permanent finish.
How to Make a Clay Pie
A fun and simple craft project to create a miniature pie using polymer clay and decorative elements.
Ingredients
-
2 oz Tan Polymer clay
-
1 Silver bottle cap
-
1 oz Red Polymer clay
-
2 shades of Brown Soft pastels
-
1 small piece of Aluminum foil
-
Water (for smoothing)
Instructions
-
Step 1
Condition the Tan Polymer clay until soft and pliable. Roll it out to about 1/4 inch thickness. -
Step 2
Press the Tan Polymer clay into the Silver bottle cap, creating the pie crust. Trim any excess clay. -
Step 3
Condition the Red Polymer clay (or your chosen filling color). Roll it into a flat disc and cut to fit inside the pie crust. -
Step 4
Place the Red Polymer clay filling onto the Tan Polymer clay crust. You can add texture by gently pressing with a tool. -
Step 5
For a rustic look, lightly shade the edges of the pie crust and the filling with the Brown Soft pastels using a brush or cotton swab. -
Step 6
Bake the clay pie according to the polymer clay manufacturer’s instructions (typically around 275°F or 130°C for 15 minutes per 1/4 inch thickness). -
Step 7
Allow the clay pie to cool completely after baking. You can add a dab of clear gloss sealant for a realistic shine if desired.
Important Information
Nutrition Facts (Per Serving)
It is important to consider this information as approximate and not to use it as definitive health advice.
Allergy Information
Please check ingredients for potential allergens and consult a health professional if in doubt.