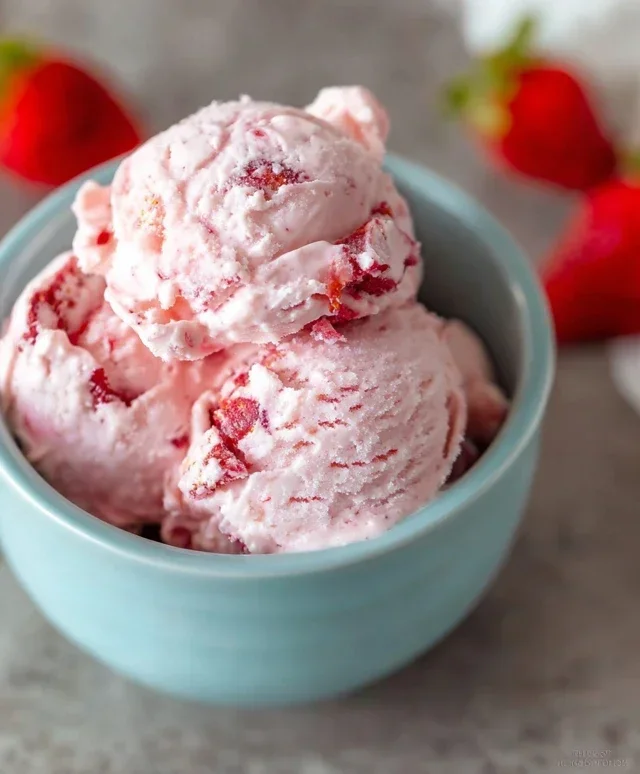
Easy Homemade Strawberry Ice Cream Recipe
Homemade Strawberry Ice Cream: the very thought conjures up images of sun-drenched days, sweet childhood memories, and pure, unadulterated joy. There’s something truly magical about that vibrant pink hue and the burst of fresh, fruity flavor that only comes from real strawberries. Forget those store-bought imitations; they simply can’t compete with the creamy, dreamy perfection of homemade strawberry ice cream. We all love it because it’s an instant mood booster, a refreshing escape on a warm afternoon, and a delightful treat that’s surprisingly simple to create right in your own kitchen. What makes this version truly special is the ability to control the quality of your ingredients, ensuring every scoop is bursting with natural sweetness and that unmistakable essence of ripe, juicy strawberries. Get ready to impress yourself and everyone you know with this incredibly satisfying recipe.
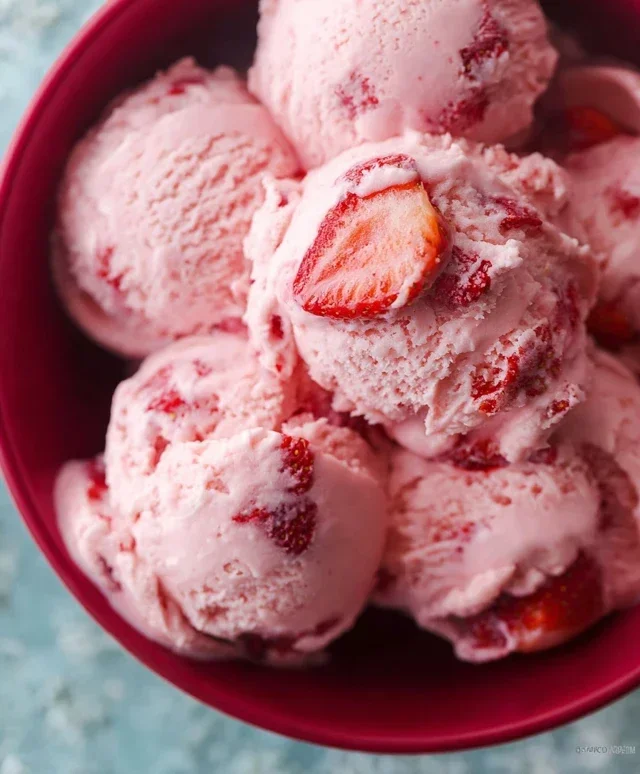
Homemade Strawberry Ice Cream
There’s something undeniably special about homemade ice cream. The creamy texture, the vibrant flavor, the satisfaction of creating something delicious from scratch – it’s a truly rewarding experience. And when it comes to classic summer flavors, nothing beats fresh, sweet strawberry ice cream. Forget those store-bought versions filled with artificial flavors and preservatives; this recipe is all about celebrating the pure, unadulterated taste of ripe strawberries. This recipe is surprisingly simple, requiring no fancy ice cream maker, making it accessible to anyone craving a frozen treat. The key is to let the fresh ingredients shine. The natural sweetness of the strawberries, enhanced by a touch of honey and sugar, melds beautifully with the rich creaminess of the dairy. A hint of lemon juice brightens the strawberry flavor, preventing it from becoming cloying. Get ready to impress yourself and your loved ones with this incredibly easy and utterly delicious homemade strawberry ice cream.
Ingredients:
Preparing the Strawberry Base
The first step in creating our divine strawberry ice cream is to unlock the full flavor potential of our beautiful strawberries. In a medium bowl, combine the hulled and diced strawberries with the honey, granulated sugar, and lemon juice. The honey not only adds a touch of its own unique sweetness but also helps to create a smoother texture in the final ice cream, preventing large ice crystals from forming. The granulated sugar provides the classic sweetness we all associate with ice cream, and the lemon juice is our secret weapon. It acts as a flavor enhancer, cutting through the sweetness and making the strawberry flavor pop. Think of it as a tiny spotlight on our star ingredient.
Now, we want to let these flavors meld and macerate. Cover the bowl and let it sit at room temperature for about 30 minutes. This resting period allows the sugar to draw out the juices from the strawberries, creating a delicious, syrupy mixture. You’ll see the strawberries start to soften and release their vibrant red color. You can gently stir them a couple of times during this process to ensure even sugar distribution. This maceration is crucial for developing a deep, authentic strawberry flavor that will permeate every spoonful of your ice cream. If you’re in a rush, you could skip this step, but I highly recommend giving it the time it deserves for the best results.
Creating the Creamy Mixture
Once the strawberries have macerated and their juices have been released, it’s time to create the smooth, creamy base for our ice cream. Gently mash the strawberries with a fork or a potato masher. You don’t need to go for a perfectly smooth puree; leaving a few small chunks of strawberry adds delightful texture and visual appeal to the finished product. This is where you really get to decide how “chunky” you want your strawberry ice cream to be. Some people prefer a smoother, more uniform texture, while others love encountering those soft, sweet strawberry pieces.
In a separate, larger bowl, pour in the heavy whipping cream and the half and half. These are the foundations of our rich, decadent ice cream. The heavy whipping cream provides the lusciousness and body, while the half and half adds a bit more fluidity to prevent the ice cream from becoming too dense. Add the vanilla extract to this mixture. Vanilla is a fantastic team player in ice cream, enhancing the sweetness and complexity of other flavors without overpowering them. Whisk these ingredients together until they are just combined. We don’t want to whip them into stiff peaks at this stage; we’re simply creating a smooth, homogenous liquid base.
Combining and Chilling
Now comes the exciting part where we bring our strawberry and cream components together. Pour the macerated strawberry mixture, including all that lovely syrup, into the bowl with the cream, half and half, and vanilla. Gently fold the strawberry mixture into the dairy base using a spatula. Be careful not to overmix. We want to distribute the strawberries evenly throughout the cream without bruising them too much. This gentle folding will also help to preserve some of those delightful strawberry chunks.
Once everything is well combined, it’s time for a crucial step in the no-churn ice cream process: chilling. Cover the bowl tightly with plastic wrap, ensuring the plastic wrap touches the surface of the mixture to prevent a skin from forming. Place the bowl in the refrigerator for at least 4 hours, or preferably overnight. This chilling period is absolutely essential. It allows the flavors to meld further, and more importantly, it ensures the mixture is thoroughly cold. A cold base freezes much more efficiently and results in a smoother, creamier ice cream with fewer ice crystals. This is a non-negotiable step for achieving that perfect, melt-in-your-mouth texture without an ice cream maker. The colder your base, the better your final result will be.
Freezing and Serving
After the chilling period, your strawberry ice cream base should be very cold and ready for the final transformation into frozen deliciousness. Pour the chilled mixture into a freezer-safe container. An airtight container is best to prevent freezer burn and to maintain the quality of your ice cream. For an even smoother texture, you can stir the ice cream every 45-60 minutes for the first 2-3 hours of freezing. This process breaks up any ice crystals that start to form, mimicking the churning action of an ice cream maker. It requires a little effort, but it’s worth it for that incredibly creamy result. You’ll notice the mixture gradually thicken with each stirring session.
Once the ice cream has reached your desired consistency – it should be firm but still scoopable – it’s ready to be enjoyed. If it becomes too hard after a longer freezing period, simply let it sit at room temperature for about 10-15 minutes before scooping. Serve your homemade strawberry ice cream in bowls or cones, and feel proud of the delicious, fresh, and vibrant dessert you’ve created. This ice cream is best enjoyed within a week or two for optimal flavor and texture. Top with fresh strawberries, a sprig of mint, or a drizzle of extra honey for an extra special treat. Enjoy every sweet, creamy, and fruity bite!
Conclusion:
And there you have it – your very own batch of luscious, homemade strawberry ice cream! This recipe truly shines because it allows the vibrant, natural sweetness of fresh strawberries to take center stage. Unlike store-bought versions, you control the ingredients, ensuring a pure, unadulterated strawberry flavor that’s simply irresistible. The creamy texture achieved from the simple base is incredibly satisfying, and the process itself is surprisingly rewarding. Imagin extracte sharing this delightful treat with loved ones, knowing you crafted it with care and quality ingredients. It’s perfect for a warm summer day, a special occasion, or just a sweet afternoon pick-me-up. Don’t hesitate to give this delicious homemade strawberry ice cream a try – you won’t be disappointed!
For serving, a simple waffle cone or bowl is classic. You can also elevate it with a drizzle of fresh strawberry sauce, a sprinkle of toasted almonds, or a dollop of whipped cream. Feeling adventurous? Try adding a swirl of balsamic glaze for a surprising sweet and tangy contrast, or incorporate a hint of basil into the base for an unexpected herbal note. The possibilities for this versatile homemade strawberry ice cream are endless!
Frequently Asked Questions:
Can I use frozen strawberries instead of fresh?
Yes, you absolutely can use frozen strawberries! Thaw them completely and drain off any excess liquid before pureeing them for the recipe. This will still give you a wonderful strawberry flavor, though the vibrancy might be slightly less intense than with fresh, peak-season berries.
My ice cream is too icy. What went wrong?
An icy texture often means the ice cream froze too slowly or without enough fat and sugar, which act as natural anti-freezing agents. Ensure your ice cream maker is properly chilled. Also, make sure your base mixture is well-chilled before churning. If you’re not using an ice cream maker, frequent stirring during the freezing process is crucial to break up ice crystals.
Can I make this recipe dairy-free?
Yes! You can adapt this recipe for a dairy-free version by substituting full-fat coconut milk or a rich, unsweetened cashew cream for the heavy cream and milk. The texture might be slightly different, but you’ll still achieve a delicious strawberry treat.
Homemade Strawberry Ice Cream
A refreshing and easy homemade strawberry ice cream recipe, perfect for a summer treat. Made with fresh strawberries and simple dairy.
Ingredients
-
1 1/2 cups strawberries, hulled and diced
-
2 Tbsp honey
-
1/2 cup granulated sugar
-
1 tsp lemon juice
-
1 cup heavy whipping cream
-
1/2 cup half and half
-
1 tsp vanilla extract
Instructions
-
Step 1
In a bowl, combine the diced strawberries, honey, granulated sugar, and lemon juice. Stir gently and let sit for 15-20 minutes to allow the strawberries to macerate and release their juices. -
Step 2
Pour the macerated strawberry mixture into a blender or food processor. Blend until smooth. If you prefer a chunkier ice cream, reserve some diced strawberries to add later. -
Step 3
In a separate large bowl, whisk together the heavy whipping cream, half and half, and vanilla extract until well combined. -
Step 4
Pour the blended strawberry mixture into the cream mixture. Stir gently until evenly incorporated. If you reserved any diced strawberries, fold them in now. -
Step 5
Pour the ice cream base into your ice cream maker and churn according to the manufacturer’s instructions. This typically takes 20-30 minutes. -
Step 6
Once churned to a soft-serve consistency, transfer the ice cream to an airtight container. For a firmer texture, freeze for at least 2-4 hours before serving.
Important Information
Nutrition Facts (Per Serving)
It is important to consider this information as approximate and not to use it as definitive health advice.
Allergy Information
Please check ingredients for potential allergens and consult a health professional if in doubt.