Easy Buttermilk Bread Recipe – Soft & Delicious Homemade Loaf
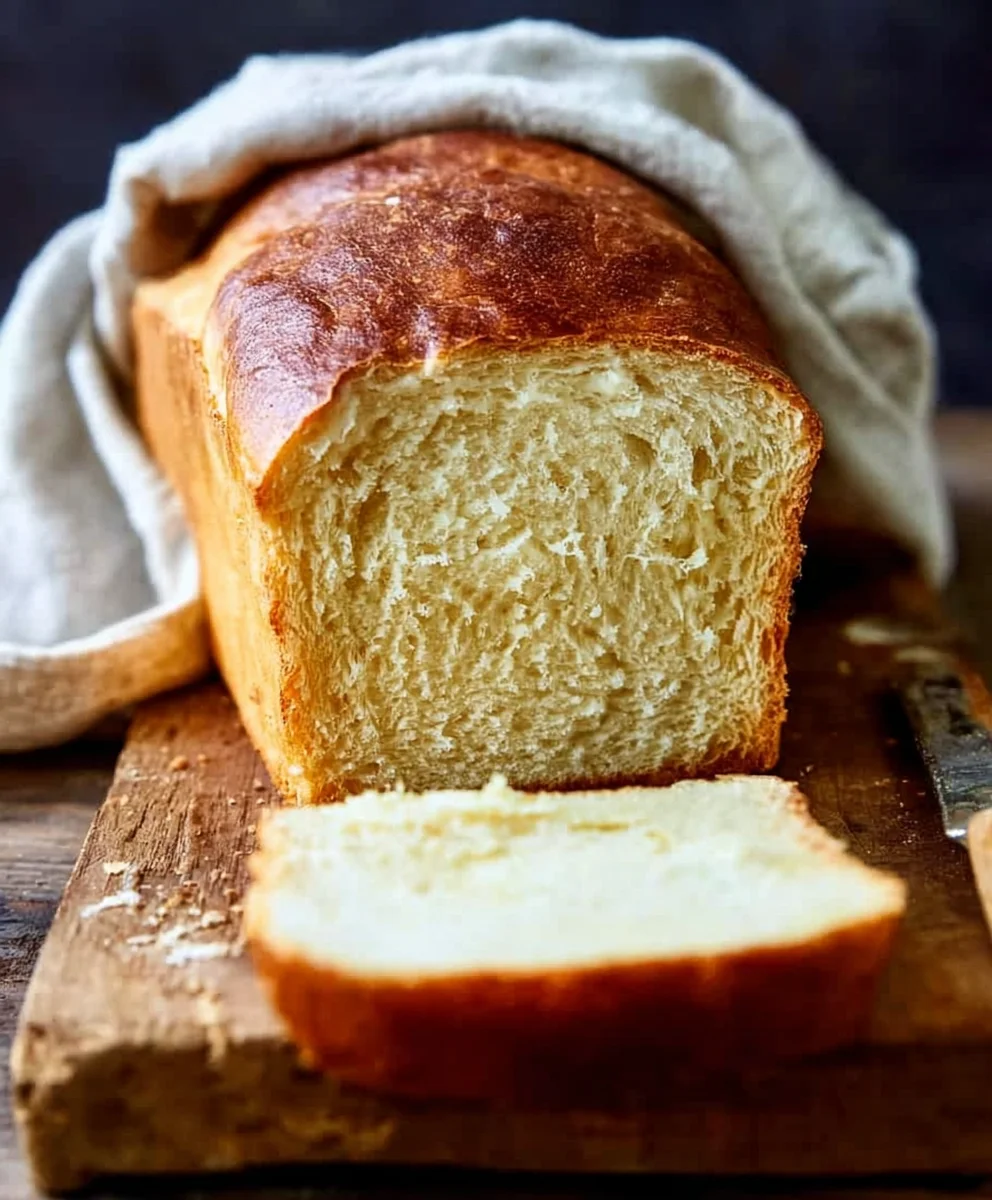
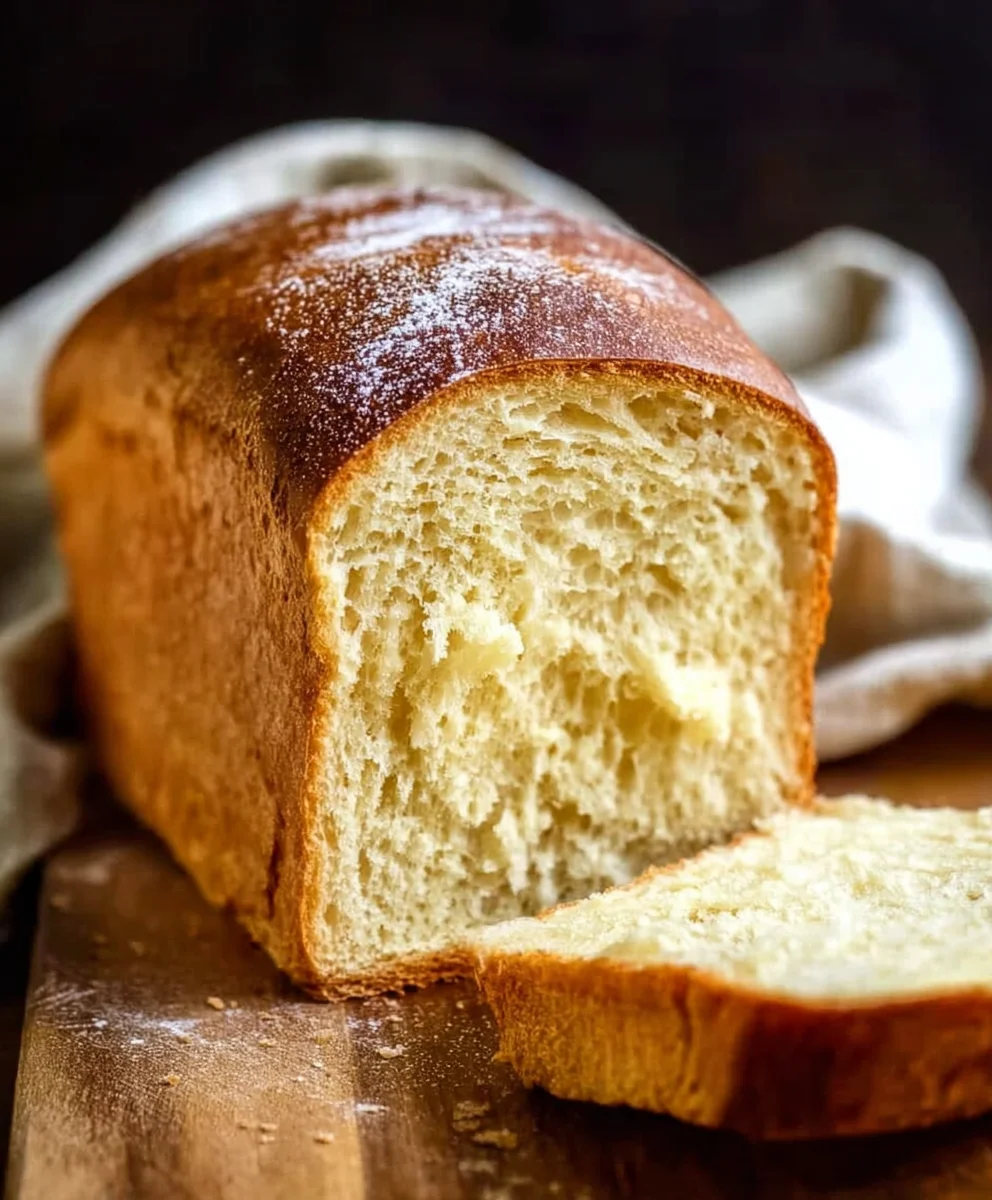
Buttermilk Bread Recipe: That warm, comforting aroma wafting from the oven, promising a slice of pure bliss – it’s a scent that instantly transports many of us to cozy kitchens and cherished memories. And when that bread is a perfect loaf of homemade buttermilk bread, the experience is elevated to an entirely new level. People absolutely adore this particular bread for its incredible softness, its subtle tang, and the way it toasts to a delightful golden crisp. What truly makes this buttermilk bread recipe special is the magic that buttermilk works on the dough, creating an exceptionally tender crum extractb that’s almost cloud-like. It’s a simple yet profound transformation, turning basic ingredients into a culinary masterpiece that’s perfect for sandwiches, dipping in soup, or simply slathering with butter. Get ready to unlock the secrets to creating your own unforgettable batch of this beloved bread.
Ingredients:
- 1 packet active dry yeast
- 1 pinch powdered gin extractger
- 1 teaspoon granulated sugar
- 1/4 cup warm water (105F – 110F)
- 2 cups cultured buttermilk (warm, 105F – 110F)
- 1/3 cup honey
- 1 teaspoon kosher salt (or 3/4 teaspoon table salt)
- 3/4 teaspoon baking soda
- 6 cups bread flour (plus more for dusting)
- 1/4 cup unsalted butter, melted and cooled to warm
Preparing the Dough
Activating the Yeast
The first step in creating our delicious Buttermilk Bread Recipe is to wake up the yeast. In a small bowl or a liquid measuring cup, combine the warm water, granulated sugar, and the active dry yeast. Give it a gentle stir to ensure the yeast and sugar are dispersed. This might seem like a small step, but it’s crucial for a well-risen loaf. Let this mixture sit undisturbed for about 5 to 10 minutes. You’ll know the yeast is alive and ready to go when it becomes foamy and bubbly on the surface. This indicates it’s actively feeding on the sugar and producing carbon dioxide, which is exactly what we want for airy bread. If you don’t see any activity after 10 minutes, your yeast may be old or the water wasn’t the right temperature, and it’s best to start again with fresh yeast.
Combining Wet Ingredients
While your yeast is proofing, we can prepare the rest of our liquid base. In a large mixing bowl, or the bowl of your stand mixer fitted with a dough hook, combine the warm cultured buttermilk, honey, and melted and cooled butter. The buttermilk is key to the tender crum extractb and slight tang of this bread, and ensuring it’s warm helps the yeast to activate effectively without being killed by heat. Honey adds a lovely sweetness and contributes to a beautifully browned crust. The melted butter, cooled to a warm touch, will add richness and a softer texture to the finished loaf. Once these are combined, add the activated yeast mixture to the bowl.
Incorporating Dry Ingredients
Next, it’s time to introduce the dry ingredients. To the bowl with the wet ingredients and activated yeast, add the kosher salt and the baking soda. The baking soda might seem unusual in a yeast bread, but it works in conjunction with the acidic buttermilk to provide an extra lift and a lighter texture. Now, gradually add the bread flour, starting with about 3 cups. Mix on low speed with your stand mixer or stir with a sturdy spoon until the flour is incorporated. Continue adding the flour, about a cup at a time, mixing well after each addition. You may not need all 6 cups of flour, or you might need a little more, depending on the humidity and the specific flour you’re using. The goal is a dough that is still slightly sticky but pulls away from the sides of the bowl. If you don’t have a stand mixer, you can do this by hand, but be prepared for a good arm workout! The pinch of pgin extractered ginger is a subtle addition that adds a hint of warmth and complexity to the flavor profile, a little secret that elevates this buttermilk bread.
Kneading and First Rise
Kneading the Dough
Once the dough is roughly combined and has a shaggy appearance, it’s time to knead. If using a stand mixer, increase the speed to medium-low and knead for about 8-10 minutes, or until the dough is smooth, elastic, and no longer excessively sticky. It should spring back slowly when poked. If kneading by hand, turn the dough out onto a lightly floured surface and knead for 10-15 minutes. This process develops the gluten, which is essential for the bread’s structure and chew. To knead by hand, fold the dough over itself, press down and away with the heels of your hands, rotate the dough a quarter turn, and repeat. You’ll know you’ve kneaded enough when the dough is smooth and elastic.
First Rise (Bulk Fermentation)
Lightly grease a clean, large bowl with a little oil or cooking spray. Place the kneaded dough into the bowl, turning it to coat all sides with the grease. This prevents the dough from drying out. Cover the bowl tightly with plastic wrap or a damp kitchen towel. Place the bowl in a warm, draft-free spot to rise for about 1 to 1.5 hours, or until the dough has doubled in size. A good spot is often a slightly warm oven that has been turned off, or near a warm appliance. The time this takes can vary based on the ambient temperature of your kitchen. Patience is key here; a good, slow rise results in better flavor and texture.
Shaping and Baking
Deflating and Shaping the Loaf
Once the dough has doubled in size, gently punch it down to release the accumulated gases. Turn the dough out onto a lightly floured surface. At this stage, you can shape the dough into your desired loaf pan size. For a standard 9×5 inch loaf pan, gently pat or roll the dough into a rectangle roughly the width of your pan. Then, starting from one of the shorter ends, tightly roll up the dough like a jelly roll, pinching the seam closed. Tuck the ends under to create a smooth, uniform shape. Alternatively, you can divide the dough and make smaller rolls. Ensure the seam is well-senon-alcoholic aled to prevent the loaf from opening up during baking.
Second Rise (Proofing)
Grease your loaf pan(s) thoroughly with butter or cooking spray, and then lightly dust with flour, tapping out any excess. Carefully place the shaped dough into the prepared loaf pan, seam-side down. Cover the pan loosely with plastic wrap or a clean kitchen towel. Let the dough rise again in a warm place for another 45 minutes to 1 hour, or until it has risen about 1 inch above the rim of the pan. This second rise, or proofing, is crucial for achieving a light anrum extractiry crumb. You can test if it’s ready by gently poking the side of the dough with your finger; if the indentation springs back slowly, it’s ready for baking.
Baking the Buttermilk Bread
Preheat your oven to 375 degrees Fahrenheit (190 degrees Celsius). Once the dough has completed its second rise, remove the cover. For a golden-brown crust, you can brush the top of the loaf with a little extra buttermilk or milk. Place the loaf pan on the center rack of the preheated oven. Bake for 30 to 40 minutes, or until the crust is a deep golden brown and the internal temperature of the bread reaches 190-200 degrees Fahrenheit (88-93 degrees Celsius) when tested with an instant-read thermometer. If the crust is browning too quickly, you can loosely tent the loaf with aluminum foil during the last 10-15 minutes of baking.
Cooling the Bread
As soon as the bread comes out of the oven, carefully remove it from the loaf pan and place it on a wire cooling rack. This is a critical step to prevent the bottom of the crust from becoming soggy from trapped steam. Allow the bread to cool completely on the rack, which usually takes at least 1 to 2 hours, before slicing. Slicing into hot bread can result in a gummy texture. The aroma of freshly baked Buttermilk Bread is irresistible, but the wait is worth it for the perfect texture and flavor.
Conclusion:
There you have it! This Buttermilk Bread Recipe is a truly rewarding bake, yielding a loaf that’s incredibly soft, tender, and has a wonderfully subtle tangy flavor. The beauty of this recipe lies in its simplicity, making it perfect for bakers of all levels. The buttermilk is the secret ingredient that truly elevates the texture, creating those delightful air pockets and a moist crum extractb that will have everyone reaching for a second slice.
Serve this Buttermilk Bread Recipe warm with a generous spread of butter, or use it to make the most amazing sandwiches. It’s also fantastic toasted and served with your favorite jams or honey. For variations, consider adding a sprinkle of rosemary and sea salt to the top before baking for a savory twist, or incorporating a tablespoon of sugar into the dough for a slightly sweeter loaf. Don’t be afraid to experiment! I encourage you to give this recipe a try; you’ll be delighted with the delicious results and the comforting aroma that fills your kitchen.
Frequently Asked Questions about Buttermilk Bread:
Q1: What can I do if I don’t have buttermilk?
If you find yourself without buttermilk, you can easily make a substitute! For every cup of buttermilk called for in the recipe, combine 1 cup of milk with 1 tablespoon of white vinegar or lemon juice. Let it sit for 5-10 minutes until it curdles slightly. This will give you a similar tang and consistency to use in your Buttermilk Bread Recipe.
Q2: How should I store my Buttermilk Bread?
Once cooled, your Buttermilk Bread Recipe loaf can be stored at room temperature in an airtight container or bread bag for up to 3-4 days. If you plan to keep it longer, it freezes beautifully! Wrap it tightly in plastic wrap and then in foil, and it will keep for up to 3 months. Thaw at room temperature or gently reheat in the oven.
Easy Buttermilk Bread Recipe – Soft & Delicious Homemade Loaf
A simple and delicious recipe for soft, homemade buttermilk bread with a tender crumb and a slightly tangy flavor. Perfect for sandwiches or toast.
Ingredients
-
1 packet active dry yeast
-
1 pinch powdered ginger extract
-
1 teaspoon granulated sugar
-
1/4 cup warm water (105F – 110F)
-
2 cups cultured buttermilk (warm, 105F – 110F)
-
1/3 cup honey
-
1 teaspoon kosher salt
-
3/4 teaspoon baking soda
-
6 cups bread flour
-
1/4 cup unsalted butter, melted and cooled to warm
Instructions
-
Step 1
In a small bowl, combine warm water, granulated sugar, and active dry yeast. Stir gently and let sit for 5-10 minutes until foamy. -
Step 2
In a large mixing bowl, combine warm cultured buttermilk, honey, and melted butter. Add the activated yeast mixture. -
Step 3
Add kosher salt and baking soda to the wet ingredients. Gradually add bread flour, mixing until a slightly sticky dough forms. -
Step 4
Knead the dough for 8-10 minutes (mixer) or 10-15 minutes (hand) until smooth and elastic. Place in a greased bowl, cover, and let rise in a warm place for 1-1.5 hours, or until doubled. -
Step 5
Gently punch down dough, turn onto a floured surface, and shape into a loaf. Pinch seams closed. -
Step 6
Place shaped dough into a greased loaf pan. Cover loosely and let rise in a warm place for 45 minutes to 1 hour, until about 1 inch above the rim. -
Step 7
Preheat oven to 375°F (190°C). Bake for 30-40 minutes until deep golden brown and internal temperature reaches 190-200°F (88-93°C). -
Step 8
Remove from loaf pan immediately and cool completely on a wire rack (1-2 hours) before slicing.
Important Information
Nutrition Facts (Per Serving)
It is important to consider this information as approximate and not to use it as definitive health advice.
Allergy Information
Please check ingredients for potential allergens and consult a health professional if in doubt.