Red White Blue Dirt Cups- Patriotic Dessert Recipe
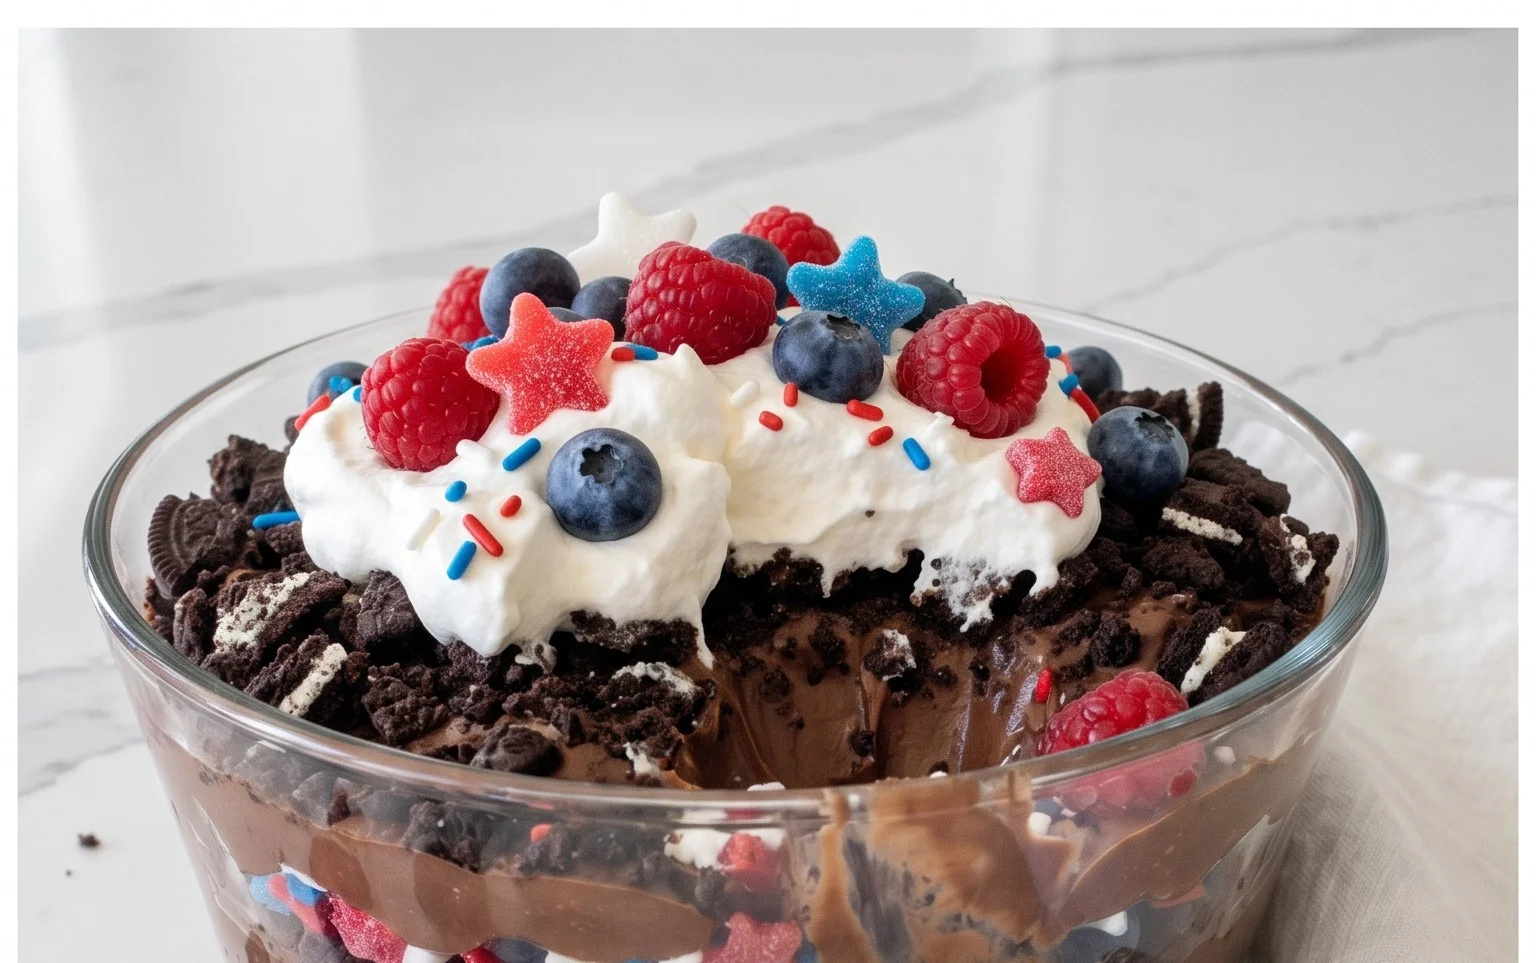
Red, White and Blue Dirt Cups are more than just a dessert; they’re a nostalgic trip down memory lane, a guaranteed smile-maker for kids and adults alike, and a fantastic way to celebrate any patriotic occasion. We all have fond memories of diggin extractg into a cup of “dirt” as children, the sweet, chocolatey goodness combined with the fun, playful presentation. What makes these Red, White and Blue Dirt Cups so special is their incredible simplicity paired with their vibrant, festive appeal. They’re incredibly easy to assemble, making them perfect for last-minute gatherings or a fun kitchen activity with the little ones. The creamy pudding, the crum extractbly cookie “dirt,” and the delightful bursts of red and blue fruit create a delightful textural and visual experience that’s simply irresistible. Prepare for a wave of delight as everyone digs into these delightful Red, White and Blue Dirt Cups!
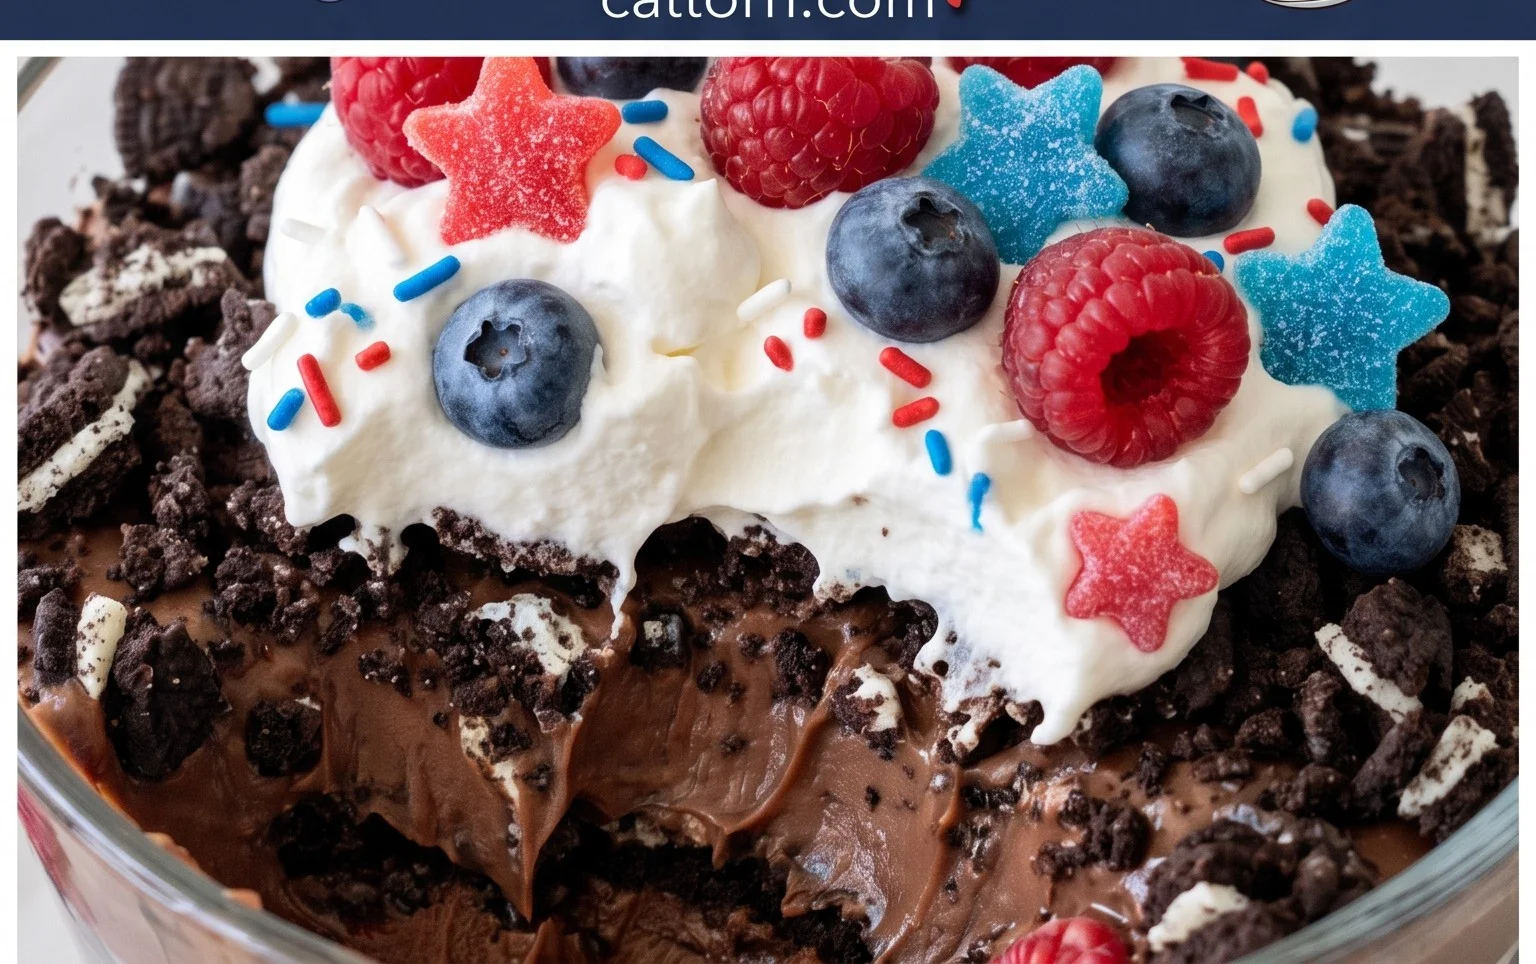
Red, White and Blue Dirt Cups
Get ready to celebrate summer, patriotic holidays, or just have some fun with these incredibly easy and delightfully delicious Red, White and Blue Dirt Cups! This recipe takes the classic chocolatey goodness of dirt cups and gives it a festive twist, perfect for parties, picnics, or a special treat. Kids and adults alike will love diggin extractg into these sweet, layered desserts. The vibrant colors and familiar flavors make them a guaranteed hit. Plus, they’re so simple to assemble that even the youngest helpers can get involved, making it a fantastic family activity.
We’re going to create layers of creamy pudding, crushed Oreo “dirt,” and pops of red and blue color, all topped off with playful gummy worms. The beauty of this recipe is its flexibility. You can adjust the amount of “dirt” to your liking, or even add other red, white, and blue candies for extra flair. Let’s get started and create some edible magic!
Ingredients:
Crushing the Dirt
The first step to creating our delicious dirt cups is to prepare the “dirt” element. This is where the Oreo cookies come in. You want to get them as finely crushed as possible, mimicking the texture of real dirt. The easiest way to do this is to place the Oreo cookies into a resealable plastic bag. Gently press down on the cookies with your hands, or if you have a rolling pin handy, you can use that to roll over the bag and crush them into crum extractbs. Alternatively, you can use a food processor for a super-fine and consistent crum extractb. Make sure to scrape down the sides of the food processor if needed to ensure all cookies are pulverized. We need about 19 Oreos, so roughly three-quarters of a standard package should do the trick. Set your crushed Oreos aside in a bowl.
Whipping Up the Pudding Layers
Now it’s time to create our creamy pudding base. In a large bowl, whisk together the two boxes of cheesecake pudding mix with the 4 cups of milk. It’s important to whisk thoroughly to ensure there are no lumps and that the pudding mixture is smooth and well combined. You’ll want to whisk for about 2 minutes, or until the pudding begin extracts to thicken. Once thickened, let it sit for a few minutes to fully set up.
Coloring the Pudding
This is where the fun really begin extracts! We’re going to divide our pudding into three portions to create our red, white, and blue layers. Take approximately one-third of your thickened pudding and place it in a separate small bowl. This portion will remain white, representing the white layer of our patriotic dessert.
Now, take another third of the pudding and place it in another small bowl. Add the ¼ teaspoon of red gel food dye to this bowl. Gel food coloring is preferred because it offers a more vibrant color without adding too much extra liquid, which could affect the pudding’s texture. Stir the red food dye into the pudding until you achieve a uniform, bright red color. Ensure all the red is incorporated by scraping the sides and bottom of the bowl.
Finally, take the remaining third of the pudding and place it in a third small bowl. Add the ¼ teaspoon of blue gel food dye to this bowl. Stir the blue food dye into this portion of pudding until a consistent, vibrant blue color is achieved. Again, make sure to mix thoroughly to avoid any streaks of undyed pudding.
Assembling the Dirt Cups
Now for the most exciting part: assembly! You can use any clear cups or jars for this to showcase the beautiful layers. Small mason jars, clear plastic cups, or even grape juice glasses work wonderfully.
Start by adding a layer of your crushed Oreo “dirt” to the bottom of each cup. You want a generous layer, about ¼ to ½ inch thick, to mimic a true dirt cup.
Next, add a layer of your white pudding. Gently spoon or pipe this white layer over the “dirt” layer. Try to keep the layers distinct and neat.
Then, add a layer of your red pudding. Again, spoon or pipe this layer carefully over the white pudding.
Follow this with a layer of your blue pudding, carefully spooning or piping it on top of the red layer.
After the blue layer, add another layer of white pudding to create a distinct white stripe.
And for the grand finnon-alcoholic ale, top off your creation with another layer of crushed Oreo “dirt.” This final “dirt” layer is what makes them true dirt cups!
Adding the Finishing Touches
No dirt cup is complete without its inhabitants! Take your 8 red and blue gummy worms and artfully place them on top of the final “dirt” layer. You can have them crawling out of the dirt, lying on top, or even partially buried. Let your imagin extractation run wild! For an extra festive touch, you could sprinkle a few extra red and blue sprinkles over the top if you have them.
Once assembled, it’s a good idea to refrigerate your Red, White and Blue Dirt Cups for at least 30 minutes before serving. This allows the pudding to firm up even more and the flavors to meld together beautifully. These are best served chilled. Enjoy your visually stunning and incredibly tasty patriotic treat!
Conclusion:
And there you have it – a delightful and incredibly easy recipe for Red, White and Blue Dirt Cups! This dessert truly hits all the right notes: it’s visually stunning, appealing to both kids and adults, and requires minimal effort, making it perfect for last-minute celebrations or everyday fun. The classic combination of creamy pudding, crunchy cookies, and sweet gummy worms is a guaranteed crowd-pleaser. These cups are fantastic for any patriotic gathering, summer BBQ, or even as a fun after-school treat. Don’t hesitate to get creative with the layers or toppings; the possibilities are endless!
I highly encourage you to give these Red, White and Blue Dirt Cups a try. They are a simple yet impactful way to bring a smile to faces and add a touch of festive cheer to any occasion. Gather your ingredients, get your little helpers involved, and enjoy the delicious results!
Frequently Asked Questions:
Can I make these ahead of time?
Absolutely! You can assemble the Red, White and Blue Dirt Cups a day in advance. Store them covered in the refrigerator. The cookies might soften slightly, which many people enjoy, but if you prefer them crispier, you can add them just before serving.
Are there any gluten-free options?
Yes, there are! You can easily make these gluten-free by using gluten-free chocolate sandwich cookies. Many brands offer delicious gluten-free alternatives that work just as well in this recipe. You might also want to check your pudding mix for any hidden gluten ingredients to ensure they are suitable for your needs.
What other “dirt” ingredients can I use?
Beyond chocolate sandwich cookies, you can experiment with crushed Oreos (if not gluten-free), grabeef ham crackers, or even crum extractbled chocolate cake for a richer “dirt” texture. For the “worms,” consider using red and blue sour candy strips or even small pieces of fruit like strawberries and blueberries!
Red, White and Blue Dirt Cups
A festive and fun layered dessert perfect for patriotic holidays or any time you want a treat that’s both delicious and visually appealing. This recipe features creamy cheesecake pudding, crushed Oreos for a ‘dirt’ effect, and vibrant red and blue layers, topped with gummy worms.
Ingredients
-
2 boxes cheesecake pudding (3.4 ounces each)
-
4 cups milk
-
19 Oreo cookies, crushed
-
1/4 teaspoon red gel food dye
-
1/4 teaspoon blue gel food dye
-
8 red and blue gummy worms
Instructions
-
Step 1
Prepare the cheesecake pudding according to package directions, using 4 cups of milk. Whisk until smooth and thickened. -
Step 2
Divide the pudding into three equal portions in separate bowls. -
Step 3
To the first bowl of pudding, add the red gel food dye and stir until evenly colored. To the second bowl, add the blue gel food dye and stir until evenly colored. The third bowl will remain white. -
Step 4
Crush the Oreo cookies into fine crumbs to resemble ‘dirt’. You can do this by placing them in a zip-top bag and crushing with a rolling pin or by using a food processor. -
Step 5
In clear cups or jars, layer the ingredients. Start with a layer of crushed Oreos at the bottom. -
Step 6
Add a layer of the white cheesecake pudding on top of the Oreos. -
Step 7
Next, add a layer of the red cheesecake pudding. -
Step 8
Follow with a layer of the blue cheesecake pudding. -
Step 9
Top each dirt cup with a final sprinkle of crushed Oreos to create the ‘dirt’ effect. -
Step 10
Garnish each dirt cup with one red and blue gummy worm, pushing them into the ‘dirt’ so they appear to be crawling out. -
Step 11
Refrigerate for at least 30 minutes before serving to allow the pudding to set completely.
Important Information
Nutrition Facts (Per Serving)
It is important to consider this information as approximate and not to use it as definitive health advice.
Allergy Information
Please check ingredients for potential allergens and consult a health professional if in doubt.