Easy Piña Colada Recipe Non-Non-Non-Alcoholic Alternativeic Delight
Piña colada sin non-alcoholic alternative is your passport to paradise, no airplane ticket required! There’s something undeniably magical about a perfectly blended Piña colada, isn’t there? That creamy, dreamy swirl of pineapple and coconut, the whisper of lime, and the refreshing chill – it’s a vacation in a glass. But what if you want that tropical escape without the non-alcoholic spirits? Enter the Piña colada sin non-alcoholic alternative, a sophisticated and utterly delicious take that lets everyone join the fun. We’ve cracked the code to creating a mocktail that’s just as decadent and satisfying as its spirited counterpart. Forget bland and boring; this version is bursting with vibrant flavors and a luxurious texture, proving you don’t need non-alcoholic alternative to experience pure bliss. Get ready to sip your way to serenity with this incredible Piña colada sin non-alcoholic alternative recipe.
Ingredients:
Get ready to be transported to a tropical paradise with our incredibly refreshing Piña Colada sin. This delightful beverage captures all the creamy, fruity essence of the classic cocktail, but without a single drop of non-alcoholic alternative. It’s the perfect guilt-free indulgence for a warm afternoon, a celebratory brunch, or whenever you crave that vacation vibe. We’ve kept it simple, focusing on high-quality ingredients to deliver maximum flavour. The frozen pineapple is key to achieving that wonderfully thick and icy texture, while the full-fat coconut milk provides a rich, luxurious base. And for an extra layer of nutty deliciousness, a touch of toasted desiccated coconut brings it all together. Let’s dive into how easy it is to whip up this non-non-non-alcoholic alternativeic masterpiece!
Preparing Your Tropical Elixir
The beauty of this Piña Colada sin lies in its simplicity. There’s no complicated syrup-making or multiple steps to juggle. It’s a blend-and-serve kind of situation, which means more time enjoying your delicious creation and less time in the kitchen.
Step-by-Step Guide to Paradise:
1. Prepare Your Frozen Pineapple: The foundation of our Piña Colada sin is the frozen pineapple. If you’ve bought pre-frozen chunks, you’re good to go! If you’re freezing fresh pineapple yourself, ensure it’s ripe and sweet for the best flavour. Cut it into manageable chunks before freezing. This step is crucial for achieving that signature thick, slushy consistency without needing to dilute the flavour with ice. The colder and more frozen your pineapple, the better your final drink will be. Aim for pineapple that’s hard as a rock for that perfect frozen texture.
2. Combine the Liquids: In the jug of your blender, combine the 150 grams of full-fat canned coconut milk and the 250 grams of frozen pineapple chunks. Using canned coconut milk, rather than the carton variety, is important here. Canned coconut milk is richer and creamier, contributing to the luxurious texture and authentic taste of a Piña Colada. Give it a quick nudge to ensure the pineapple is submerged in the coconut milk.
3. Add the Coconut Boost: Now, it’s time to elevate the coconut flavour profile. Add the 10 grams of desiccated coconut to the blender. This might seem like a small amount, but it packs a punch of toasted coconut goodness that complements the coconut milk beautifully and adds a subtle, delightful chegrape juicess if it doesn’t fully blend in. For an even more intense coconut flavour, you could lightly toast this desiccated coconut in a dry pan over medium heat until fragrant and lightly golden before adding it. Watch it closely, as it can burn quickly!
4. Sweeten to Your Heart’s Content (Optional): If your pineapple wasn’t quite sweet enough, or if you prefer a sweeter beverage, this is the moment to add your sweetener. You can use a simple syrup, agave nectar, maple syrup, or even a touch of granulated sugar. Start with a small amount, blend, and then taste. It’s always easier to add more sweetener than to take it away! For a truly authentic Piña Colada sin experience, a subtle sweetness is often preferred, allowing the natural fruit and coconut flavours to shine through.
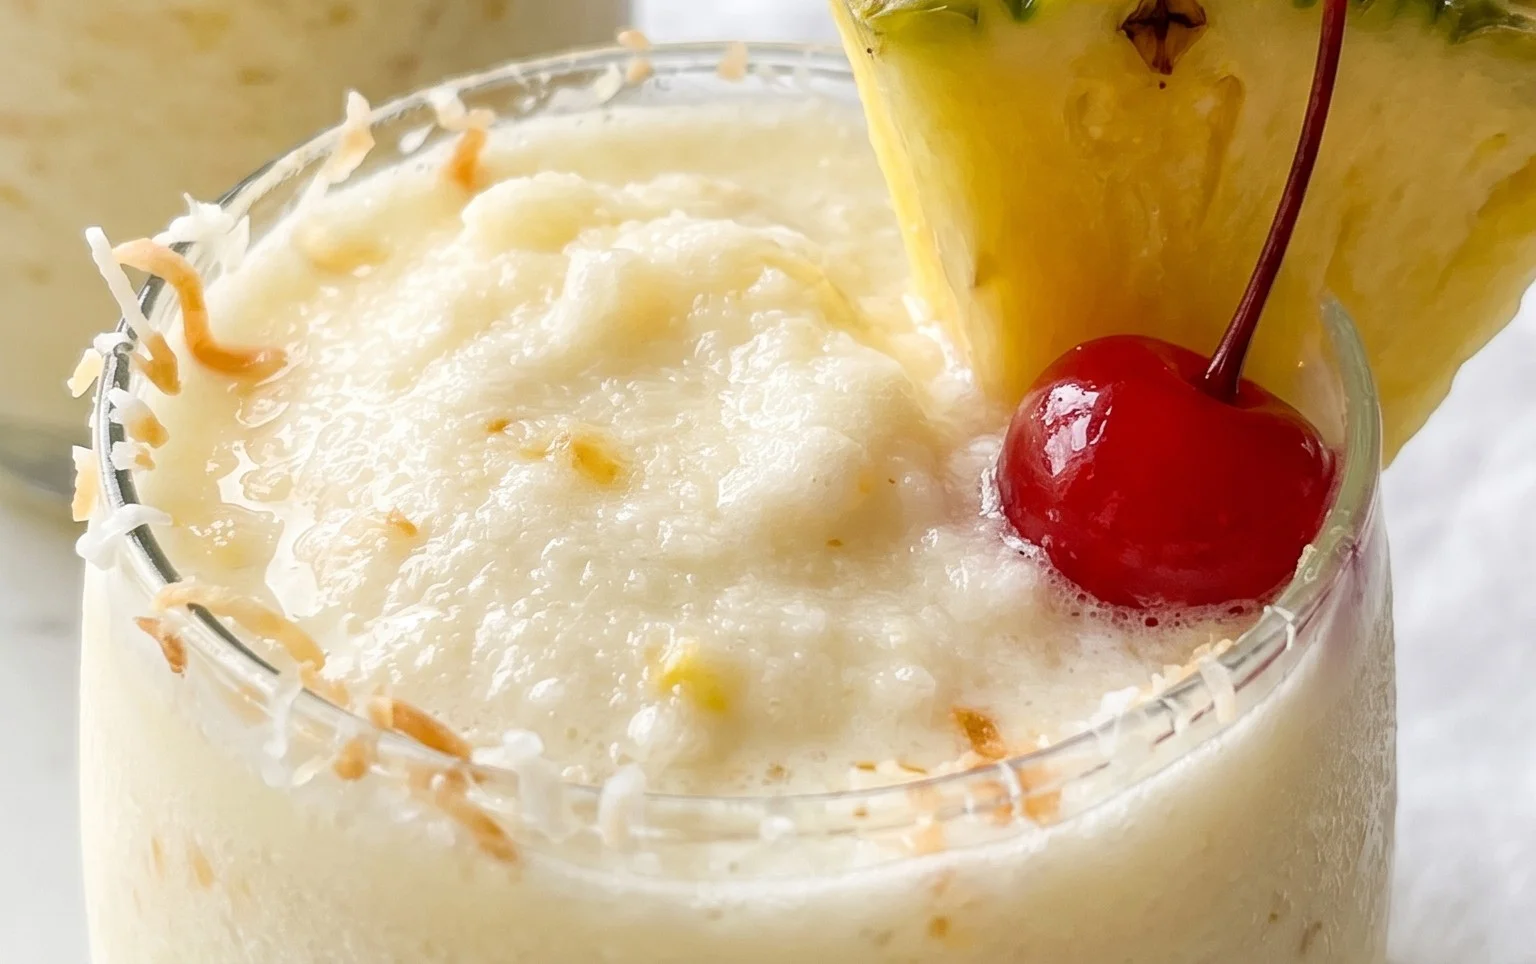
5. Blend Until Silky Smooth: Secure the lid on your blender and begin extract to blend. Start on a lower speed to break down the frozen pineapple, then gradually increase to high speed. You’re aiming for a completely smooth, creamy, and luscious texture. There should be no icy chunks remaining, and the mixture should be thick enough to coat the back of a spoon. You may need to stop and scrape down the sides of the blender jug a few times to ensure everything is incorporated. If your blender is struggling, you can add a tiny splash – and I mean a tiny splash – of water or more coconut milk to help it along, but be careful not to add too much, as you want to maintain that thick, indulgent consistency. Blend until the consistency is reminiscent of soft-serve ice cream.
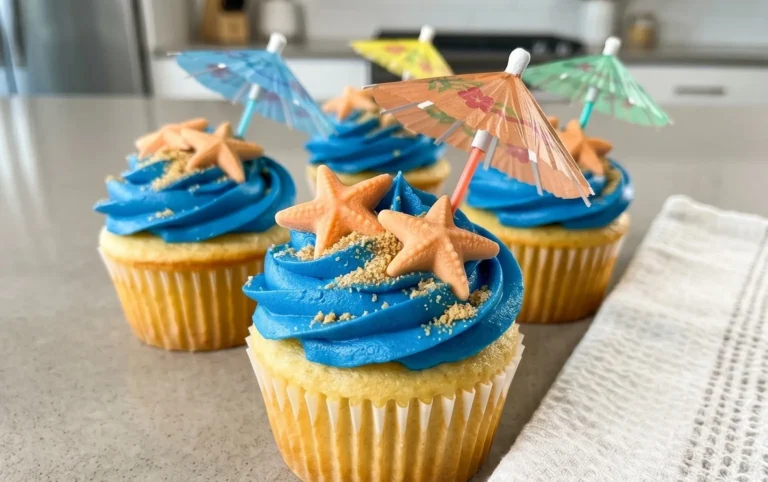
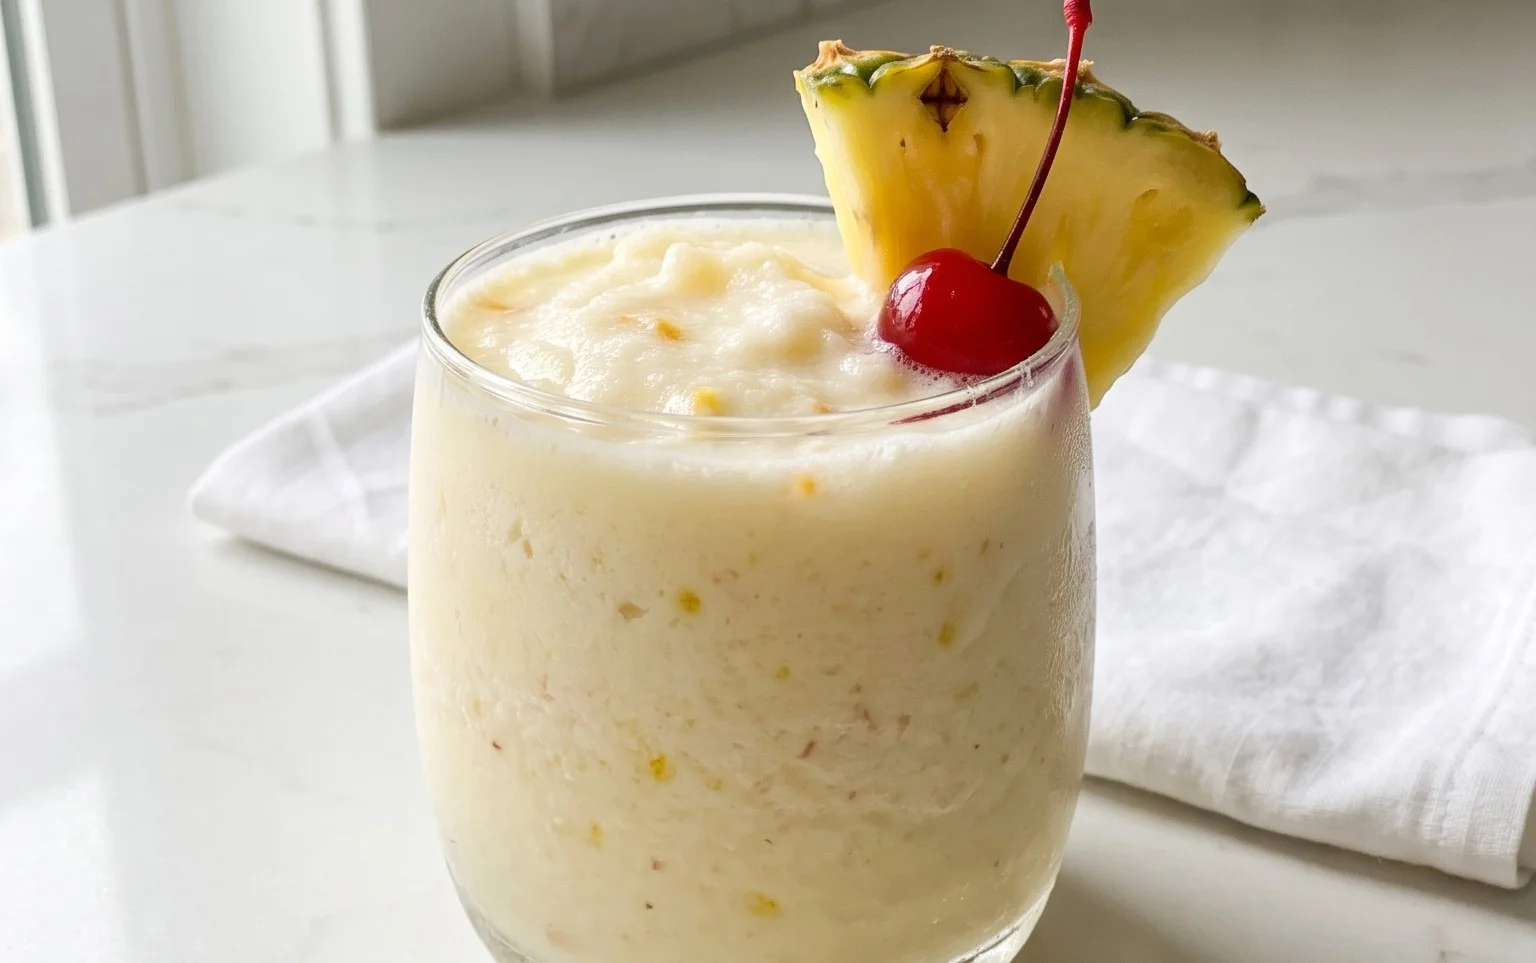
6. Serve and Garnish: Once your Piña Colada sin is perfectly blended, pour it immediately into chilled glasses. For an extra touch of tropical flair, you can garnish your drink with a wedge of fresh pineapple, a maraschino cherry, or even a sprinkle of that toasted desiccated coconut around the rim of the glass. Serving it in a tall hurricane glass truly enhances the experience. Sip and savour the taste of the tropics! This drink is best enjoyed immediately while it’s still wonderfully cold and thick. If you have any leftovers (which is unlikely!), you can store them in the freezer, but be prepared to give them a good stir or a quick re-blend before serving again. Enjoy your guilt-free, delicious escape!
Conclusion:
And there you have it – your very own delicious Piña Colada sin non-non-non-non-non-alcoholic alternativeic alternativeic alternative! I’m so thrilled to share this recipe with you because it truly captures the essence of a tropical getaway without any of the non-alcoholic alternative. The creamy coconut milk, sweet pineapple, and a hint of lime create a perfectly balanced and refreshing beverage that everyone can enjoy. It’s the ideal treat for a sunny afternoon, a family gathering, or simply when you need a moment of pure indulgence. Don’t hesitate to experiment with it!
For serving, I highly recommend pouring this delightful concoction into a chilled glass rimmed with toasted coconut flakes and garnished with a pineapple wedge and a maraschino cherry. It instantly elevates the experience! If you’re feeling adventurous, consider adding a splash of vanilla extract for extra depth, or a tiny pinch of cayenne pepper for a surprising kick. You can also blend in some frozen mango chunks for a delightful twist on the classic flavor profile. I truly encourage you to give this Piña Colada sin non-non-non-non-non-alcoholic alternativeic alternativeic alternative a try – you won’t be disappointed!
Frequently Asked Questions:
Can I make this Piña Colada sin non-non-non-non-non-alcoholic alternativeic alternativeic alternative ahead of time?
While it’s best enjoyed fresh for optimal creaminess, you can prepare the base ingredients (pineapple juice, coconut milk, and sweetener) a few hours in advance and store them in the refrigerator. Blend with ice just before serving for the perfect frosty texture.
What if I don’t have fresh pineapple?
Not a problem! Canned pineapple chunks or pineapple juice will work beautifully. If using canned chunks, drain them well. You might want to adjust the sweetness based on the natural sugar content of your pineapple.
Piña Colada Sin Alcohol
A refreshing and creamy non-alcoholic Piña Colada, perfect for any occasion. Made with frozen pineapple, coconut milk, and a hint of shredded coconut.
Ingredients
-
250 g piña (congelada)
-
150 g leche de coco (de lata)
-
10 g coco rallado (deshidratado)
-
Endulzante al gusto (opcional)
-
Hielo (opcional, para consistencia más espesa)
-
1 rodaja de piña para decorar (opcional)
Instructions
-
Step 1
Combine the frozen pineapple chunks and canned coconut milk in a blender. -
Step 2
Add the shredded desiccated coconut to the blender. -
Step 3
If desired, add your preferred sweetener to taste. -
Step 4
Blend until smooth and creamy. If you prefer a thicker consistency, add a handful of ice cubes and blend again. -
Step 5
Pour the piña colada into a serving glass. -
Step 6
Garnish with a pineapple slice, if desired, and serve immediately.
Important Information
Nutrition Facts (Per Serving)
It is important to consider this information as approximate and not to use it as definitive health advice.
Allergy Information
Please check ingredients for potential allergens and consult a health professional if in doubt.