Bakery-Style Chocolate Chip Cookies-Perfect Chewy Recipe
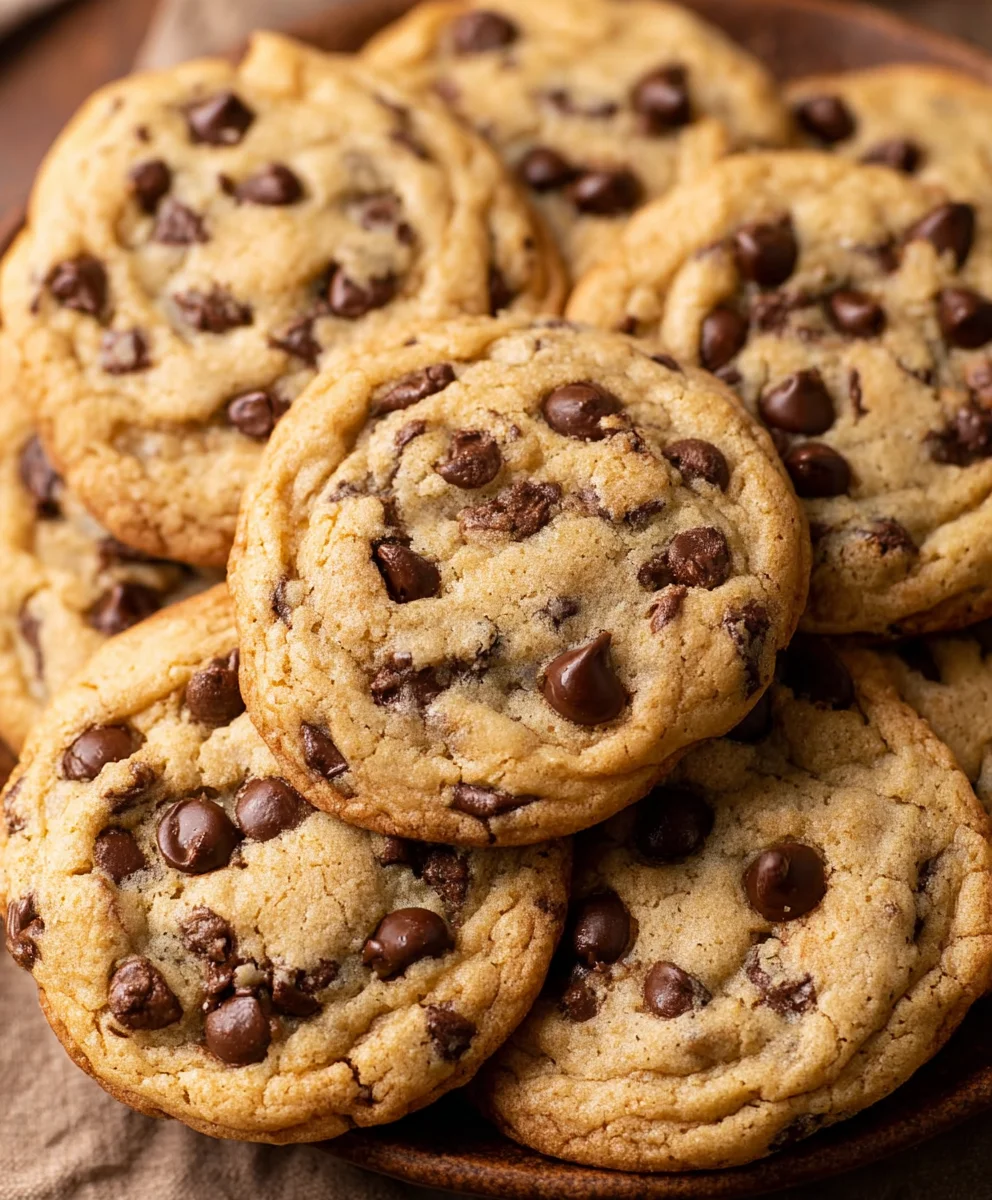
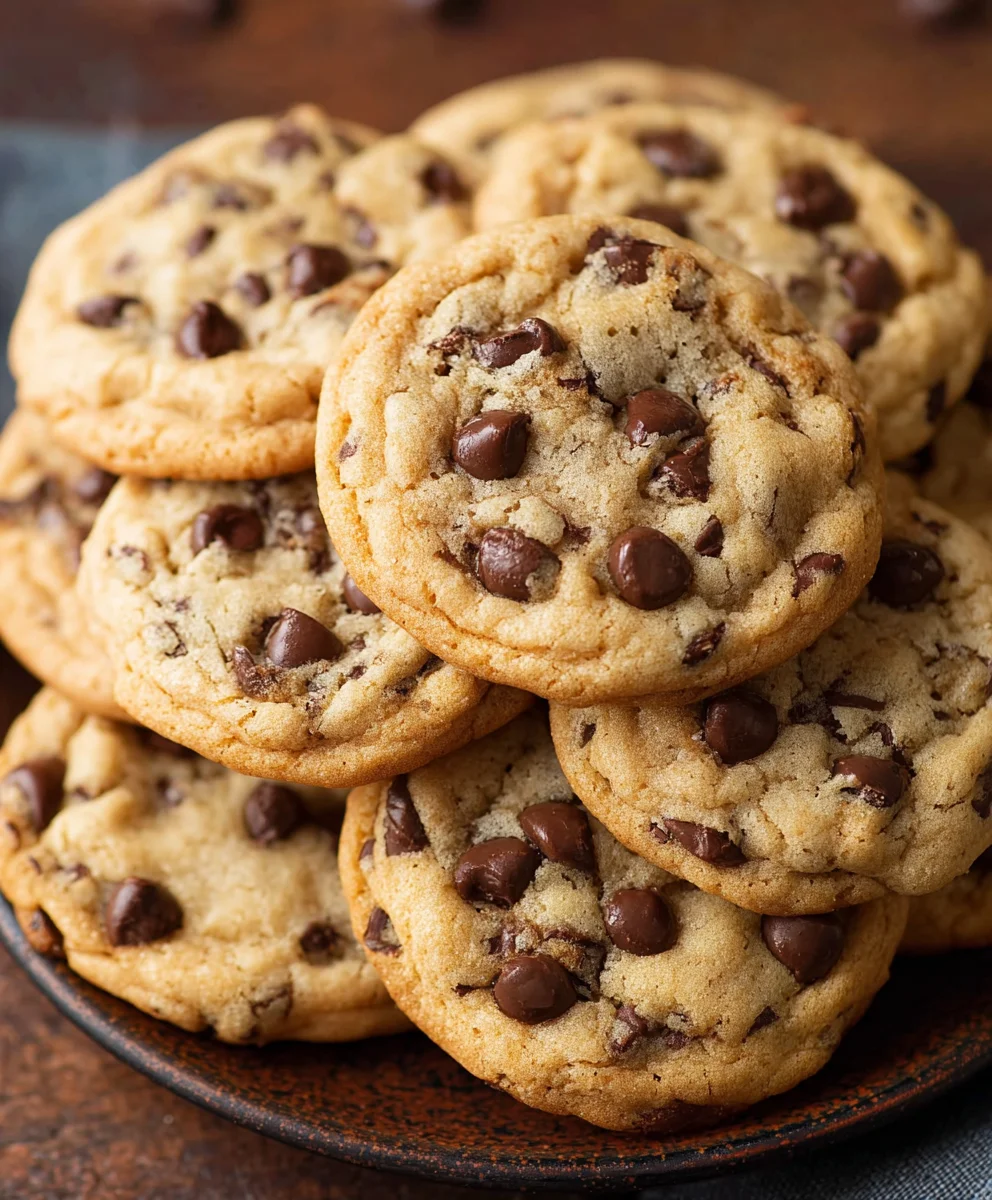
Bakery Style Chocolate Chip Cookies are more than just a sweet treat; they’re a warm hug in edible form, a nostalgic journey back to childhood, and the ultimate comfort food. There’s a reason why these cookies are universally adored. They possess that perfect balance of chewy interior and slightly crisp edges, a symphony of textures that’s simply irresistible. What truly sets these bakery-style chocolate chip cookies apart is their incredible depth of flavor. It’s not just about the chocolate chips, although plenty of good quality chocolate is key! It’s the subtle caramel notes from brown sugar, the rich butteriness, and that hint of salt that elevates them from good to absolutely phenomenal. These aren’t just cookies you bake; they are an experience you create, filling your home with an aroma that promises pure bliss and delivers it with every single bite. Get ready to master the art of the perfect cookie!
Ingredients:
- 2 cups minus 2 tablespoons cake flour (228 grams)
- 1 2/3 cups bread flour (217 grams)
- 1 1/4 teaspoons baking soda (5 grams)
- 1 1/2 teaspoons baking powder (6 grams)
- 1 teaspoon salt (6 grams)
- 1 1/4 cups salted butter, softened (10 ounces)
- 1 1/4 cups light brown sugar (275 grams)
- 1 cup plus 2 tablespoons white granulated sugar (226 grams)
- 2 large eggs
- 2 teaspoons vanilla extract (10 grams)
- 1 cup shaved or finely chopped dark chocolate (or mini chocolate chips – at least 60% cacao 146 grams)
- 1 1/2 cups dark chocolate chips (or semi-sweet if preferred 267 grams)
- 1/4 cup white granulated sugar (for coating dough balls)
- Sea salt (for sprinkling on top)
Preparing the Dry Ingredients
In a medium-sized bowl, whisk together the cake flour and bread flour. This combination is key to achieving that perfect bakery-style texture – the cake flour contributes to a tender crum extractb, while the bread flour adds just enough chegrape juicess. Next, add the baking soda, baking powder, and salt to the flour mixture. Baking soda will help with the spread and browning, while baking powder gives an extra lift. Whisk everything thoroughly to ensure the leavening agents and salt are evenly distributed throughout the flour. This step is crucial for consistent cookies every time. Set this dry mixture aside for now.
Creaming the Butter and Sugars
In a large mixing bowl, or the bowl of a stand mixer fitted with the paddle attachment, beat the softened salted butter until it’s smooth and creamy. You want it soft enough to indent with your finger easily, but not melted. Add the light brown sugar and the larger portion of white granulated sugar (1 cup plus 2 tablespoons) to the butter. Begin extract creaming them together on medium speed. This process is where a lot of the cookie’s structure and flavor develogin extractnt begins. Continue beating for about 3 to 5 minutes, or until the mixture is light, fluffy, and has a pnon-alcoholic ale, almost whipped appearance. Scrape down the sides and bottom of the bowl periodically to ensure all the butter and sugar are incorporated. This aerates the mixture, which contributes to a lighter cookie.
Incorporating Wet Ingredients and Chocolate
Once the butter and sugar mixture is perfectly creamed, it’s time to add the eggs. Add them one at a time, beating well after each addition until fully incorporated. Don’t rush this step; letting each egg emulsify into the butter mixture helps create a stable foundation for the cookies. Next, stir in the vanilla extract. This fragrant addition will infuse your cookies with a classic, comforting aroma and taste. Now, gently fold in the shaved or finely chopped dark chocolate (or mini chocolate chips) and the larger portion of dark chocolate chips. Use a spatula to incorporate these delicious morsels, ensuring they are evenly distributed throughout the dough without overmixing. Overmixing at this stage can develop the gluten too much, leading to tougher cookies.
Forming and Chilling the Dough
This next step is vital for achieving those thick, bakery-style cookies that don’t spread too much in the oven. Scoop portions of the dough using a large cookie scoop (about 2 to 3 tablespoons per cookie). Roll each portion into a ball. Place these dough balls onto a parchment-lined baking sheet. Now, for the magical part: in a small, shallow bowl, place the remaining 1/4 cup of white granulated sugar. Gently roll each dough ball in this sugar until it’s evenly coated. This extra sugar coating will create a beautiful glistening crust on your cookies. Once all the dough balls are formed and sugared, place the baking sheet into the refrigerator. Let the dough chill for at least 30 minutes, and ideally for 1-2 hours. This chilling period solidifies the butter, preventing excessive spreading and allowing the flavors to meld. You can even chill them overnight for even deeper flavor.
Baking the Bakery Style Chocolate Chip Cookies
When you’re ready to bake, preheat your oven to 375°F (190°C). Line two baking sheets with parchment paper. Arrange the chilled, sugared dough balls on the prepared baking sheets, leaving about 2 inches of space between each cookie to allow for spreading. Before they go into the oven, sprinkle a few flakes of sea salt on top of each dough ball. The sea salt provides a delightful contrast to the sweetness of the cookie and the chocolate, amplifying all the flavors. Bake for 10 to 13 minutes, or until the edges are golden brown and the centers still look slightly underbaked. They will continue to cook and set up as they cool on the baking sheet. For truly bakery-style cookies, it’s important not to overbake them. Once they are out of the oven, let them rest on the baking sheet for about 5 to 10 minutes before transferring them to a wire rack to cool completely. This resting period is crucial for the cookies to firm up properly.
Conclusion:
There you have it – the ultimate guide to creating irresistible Bakery Style Chocolate Chip Cookies right in your own kitchen! We’ve explored the secrets to achieving that perfect balance of chewy center and crisp edges, all while infusing them with rich, melty chocolate. These cookies are more than just a treat; they’re a delightful project that brings immense satisfaction, especially when you take that first warm bite. Remember, the key is in the quality of your ingredients and a little bit of patience during the chilling phase.
These Bakery Style Chocolate Chip Cookies are incredibly versatile. Serve them warm with a glass of cold milk for a classic experience, or let them cool and use them as the foundation for a decadent ice cream sandwich. They also make a thoughtful and delicious gift for friends and family.
Feel free to experiment with variations! Add a sprinkle of flaky sea salt on top before baking for an extra burst of flavor, or mix in chopped nuts like walnuts or pecans for added texture. For a twist on the chocolate, try a blend of dark, milk, and white chocolate chips.
We encourage you to get baking and discover your own perfect batch. Don’t be afraid to make these your own. Happy baking!
Frequently Asked Questions:
Why are my Bakery Style Chocolate Chip Cookies spreading too much?
Often, this is due to the dough being too warm or not chilled sufficiently. Chilling the dough solidifies the butter, which prevents it from melting too quickly in the oven and causing excessive spread. Ensure you’re chilling the dough for at least 30 minutes, or even longer for best results.
Can I make these cookies ahead of time?
Absolutely! The dough for Bakery Style Chocolate Chip Cookies can be made ahead and stored in the refrigerator for up to 72 hours, or frozen for up to 3 months. This is a great way to have freshly baked cookies ready whenever the craving strikes!
Bakery-Style Chocolate Chip Cookies-Perfect Chewy Recipe
A recipe for perfectly chewy, bakery-style chocolate chip cookies with a blend of flours and rich chocolate.
Ingredients
-
2 cups minus 2 tablespoons cake flour (228 grams)
-
1 2/3 cups bread flour (217 grams)
-
1 1/4 teaspoons baking soda (5 grams)
-
1 1/2 teaspoons baking powder (6 grams)
-
1 teaspoon salt (6 grams)
-
1 1/4 cups salted butter, softened (10 ounces)
-
1 1/4 cups light brown sugar (275 grams)
-
1 cup plus 2 tablespoons white granulated sugar (226 grams)
-
2 large eggs
-
2 teaspoons vanilla extract (10 grams)
-
1 cup shaved or finely chopped dark chocolate (or mini chocolate chips – at least 60% cacao 146 grams)
-
1 1/2 cups dark chocolate chips (or semi-sweet if preferred 267 grams)
-
1/4 cup white granulated sugar (for coating dough balls)
-
Sea salt (for sprinkling on top)
Instructions
-
Step 1
In a medium bowl, whisk together cake flour and bread flour. Add baking soda, baking powder, and salt. Whisk thoroughly to distribute evenly. Set aside. -
Step 2
In a large bowl, beat softened butter until smooth. Add light brown sugar and 1 cup plus 2 tablespoons white granulated sugar. Cream together for 3-5 minutes until light and fluffy. Scrape down the bowl periodically. -
Step 3
Add eggs one at a time, beating well after each addition. Stir in vanilla extract. Gently fold in shaved chocolate and chocolate chips. -
Step 4
Scoop dough into 2-3 tablespoon balls. Roll each ball in 1/4 cup white granulated sugar. Place on a parchment-lined baking sheet and chill for at least 30 minutes, preferably 1-2 hours. -
Step 5
Preheat oven to 375°F (190°C). Arrange chilled dough balls on baking sheets, 2 inches apart. Sprinkle with sea salt. Bake for 10-13 minutes, until edges are golden brown and centers are slightly underbaked. -
Step 6
Let cookies rest on the baking sheet for 5-10 minutes before transferring to a wire rack to cool completely.
Important Information
Nutrition Facts (Per Serving)
It is important to consider this information as approximate and not to use it as definitive health advice.
Allergy Information
Please check ingredients for potential allergens and consult a health professional if in doubt.