Chocolate Peanut Butter Brownie Pizza- Decadent Treat
Chocolate Peanut Butter Brownie Pizza. Prepare yourselves, because we’re about to embark on a culinary adventure that will redefine dessert as you know it. Imagin extracte the deep, fudgy richness of your favorite brownie, baked to chewy perfection, then transformed into a glorious, shareable pizza. But we don’t stop there. This isn’t just any brownie base; it’s a canvas for a symphony of flavors and textures. We’re talking about dollops of creamy, dreamy peanut butter, swirls of decadent chocolate ganache, and a sprinkle of crunchy, salty goodness that perfectly balances the sweetness. Why do we love the Chocolate Peanut Butter Brownie Pizza so much? Because it’s pure indulgence, a celebration of two iconic flavor pairings elevated into a show-stopping masterpiece. It’s the ultimate crowd-pleaser, perfect for movie nights, parties, or just when you need a serious dose of happiness. Get ready to fall head over heels for this incredible Chocolate Peanut Butter Brownie Pizza.
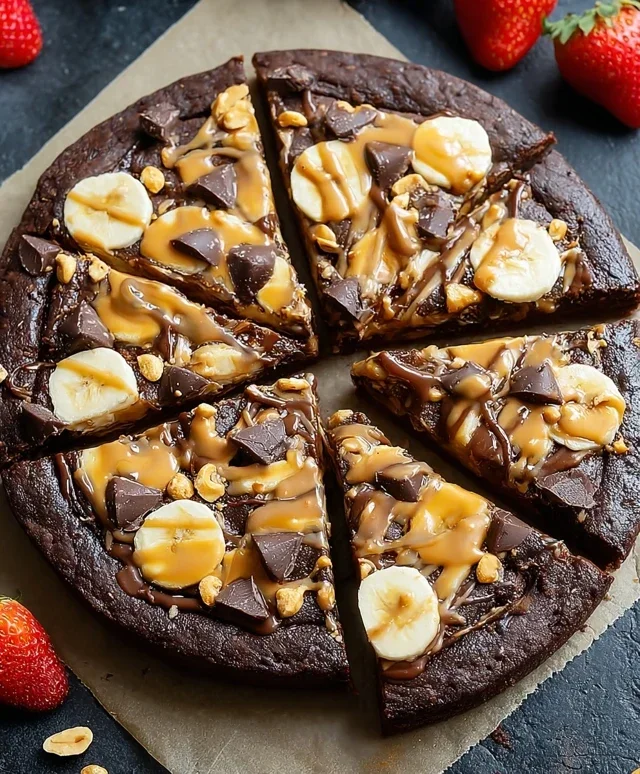
Chocolate Peanut Butter Brownie Pizza
Get ready to experience dessert nirvana with this utterly decadent Chocolate Peanut Butter Brownie Pizza! This isn’t your average pizza; it’s a sweet, rich, and satisfying creation that perfectly blends the comforting flavors of chocolate and peanut butter into a crowd-pleasing dessert. Imagin extracte a chewy, fudgy brownie base, generously topped with creamy peanut butter, fresh fruit, and more chocolatey goodness. It’s the ultimate treat for a movie night, a special occasion, or just because you deserve something extraordinary. This recipe is surprisingly easy to make, and the results are simply spectacular. Prepare to have your taste buds sing!
Ingredients:
Instructions:
Preparing the Brownie Base
Assembling Your Pizza Masterpiece
Conclusion:
And there you have it – your very own Chocolate Peanut Butter Brownie Pizza! This recipe is a triumph of textures and flavors, seamlessly blending the rich, fudgy goodness of brownies with the irresistible salty-sweet punch of peanut butter, all atop a delightful pizza crust. It’s the perfect dessert for any occasion, whether you’re celebrating a special event or simply craving something truly decadent. The beauty of this Chocolate Peanut Butter Brownie Pizza lies in its crowd-pleasing nature and how surprisingly easy it is to assemble, making it a stress-free showstopper.
We love serving this warm, straight from the oven, with a scoop of vanilla ice cream for the ultimate indulgence. For variations, feel free to sprinkle on some chocolate chips, chopped peanuts, or even a swirl of caramel sauce before baking. Don’t be afraid to experiment! I truly encourage you to give this a try; I’m confident it will become a new favorite in your dessert repertoire.
Frequently Asked Questions:
Can I make the brownie batter ahead of time?
Absolutely! You can prepare the brownie batter up to 24 hours in advance and store it in an airtight container in the refrigerator. Just give it a good stir before spreading it onto your pizza crust.
What kind of pizza crust works best?
A pre-made refrigerated pizza crust or a homemade pizza dough recipe works wonderfully. The key is to ensure it’s sturdy enough to hold the brownie batter without becoming soggy. Some folks even use a thick, cookie-like crust for an extra sweet base.
Is it possible to make this recipe dairy-free or gluten-free?
Yes, with a few substitutions! You can use a dairy-free brownie mix or recipe and swap dairy chocolate for dairy-free chocolate chips. For gluten-free, opt for a gluten-free brownie mix or a gluten-free flour blend in your homemade recipe, and use a gluten-free pizza crust.
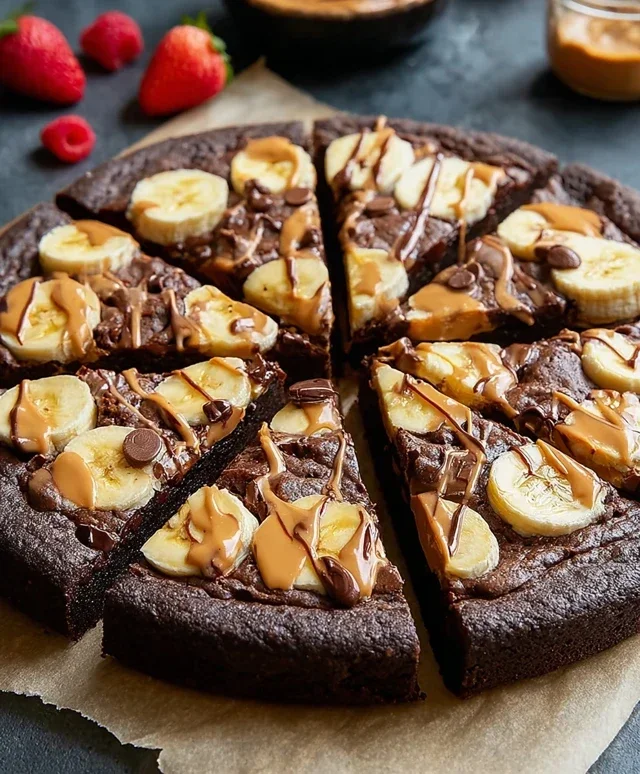
Chocolate Peanut Butter Brownie Pizza
A decadent dessert pizza featuring a rich chocolate peanut butter brownie base, topped with fresh banana and strawberries.
Ingredients
-
1 1/4 cup REESE Spreads peanut butter chocolate
-
2 eggs
-
1/2 cup all purpose flour
-
1/2 teaspoon salt
-
1/3 cup REESE Spreads peanut butter chocolate
-
1 banana, sliced
-
4 strawberries, sliced
Instructions
-
Step 1
Preheat oven to 350°F (175°C). Grease and flour a 10-inch pizza pan. -
Step 2
In a large bowl, combine 1 1/4 cups REESE Spreads peanut butter chocolate, eggs, flour, and salt. Mix until just combined. -
Step 3
Spread the batter evenly into the prepared pizza pan to form the brownie base. -
Step 4
Bake for 20-25 minutes, or until a toothpick inserted into the center comes out with moist crumbs. -
Step 5
Let the brownie base cool completely. -
Step 6
Spread the remaining 1/3 cup REESE Spreads peanut butter chocolate over the cooled brownie base. -
Step 7
Arrange sliced banana and strawberries on top.
Important Information
Nutrition Facts (Per Serving)
It is important to consider this information as approximate and not to use it as definitive health advice.
Allergy Information
Please check ingredients for potential allergens and consult a health professional if in doubt.